You own a Synology NAS and are in the process of implementing a third-party backup and restore solution. You want your backup copies to be stored on your Synology NAS, but before that, you first need to create a backup share that is accessible via the network. A backup share, or network share, is a dedicated folder specifically for storing data.
In our case, a ‘backup share’ is a folder where we will store backup copies over the network.
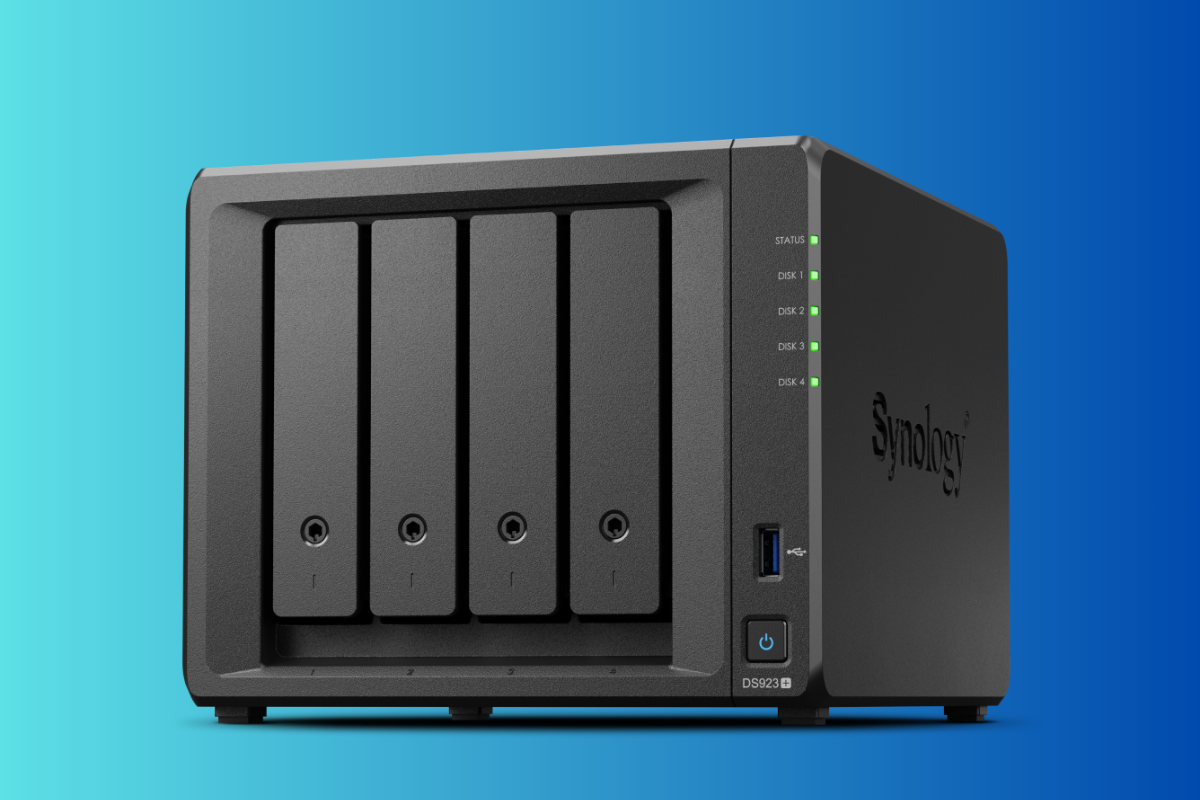
In my lab, I use a Synology NAS DS923+ running DSM version 7.2.2-72806 Update 2, and I want to show you how to create a Synology NAS backup share. The same process applies to other Synology models and DSM versions.

Step-by-Step Instructions
- Log in to your Synology NAS.
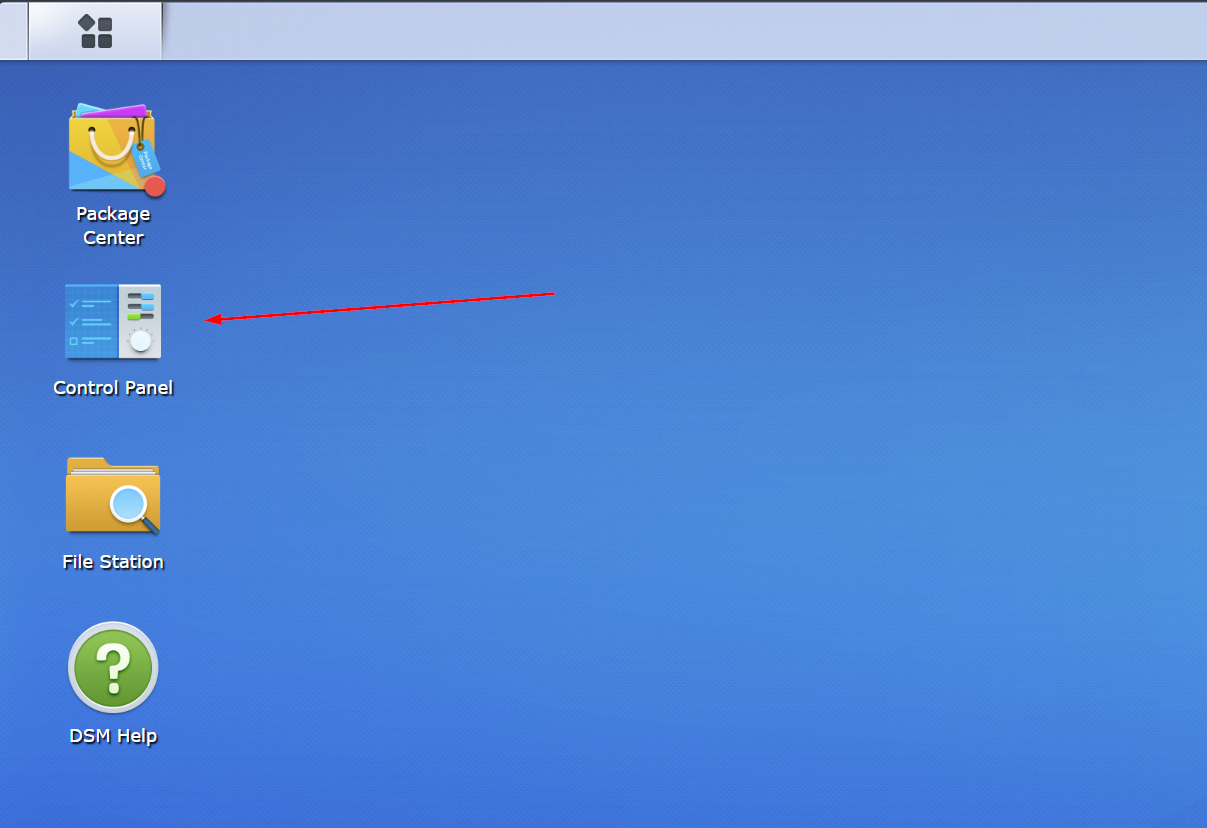
- Navigate to the Control Panel from the Desktop and open it.
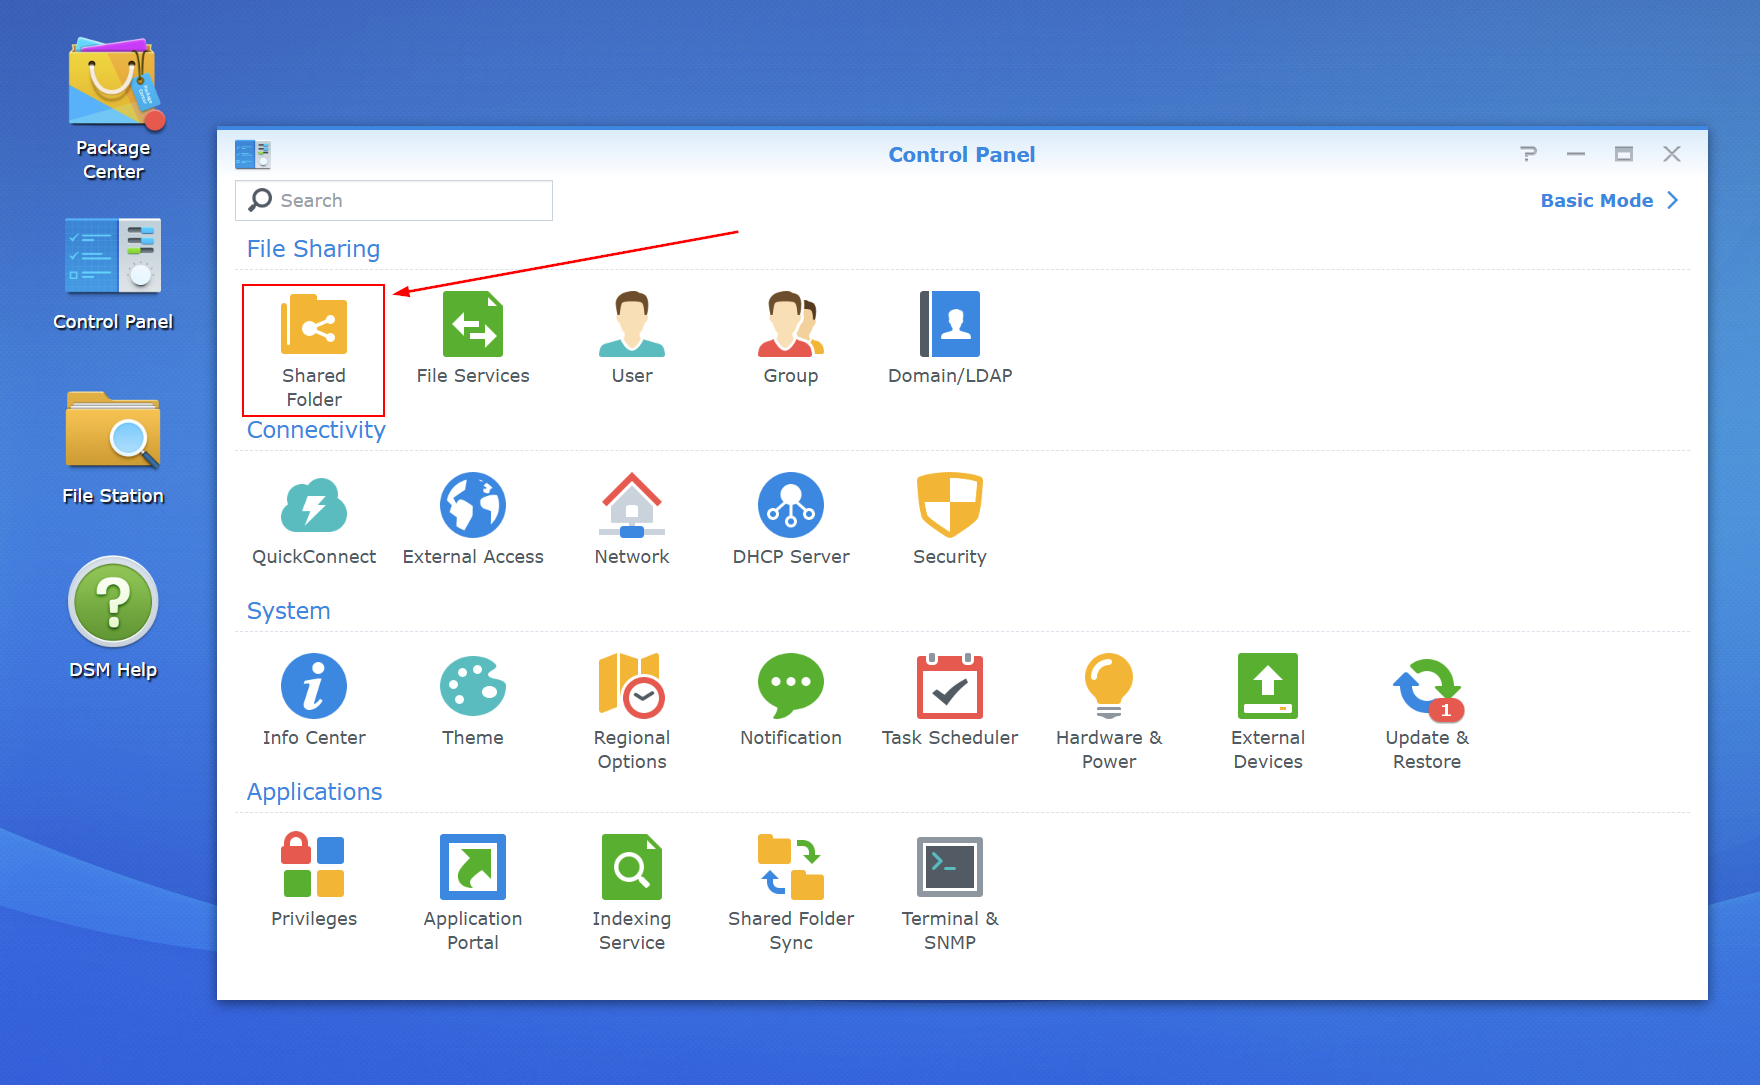
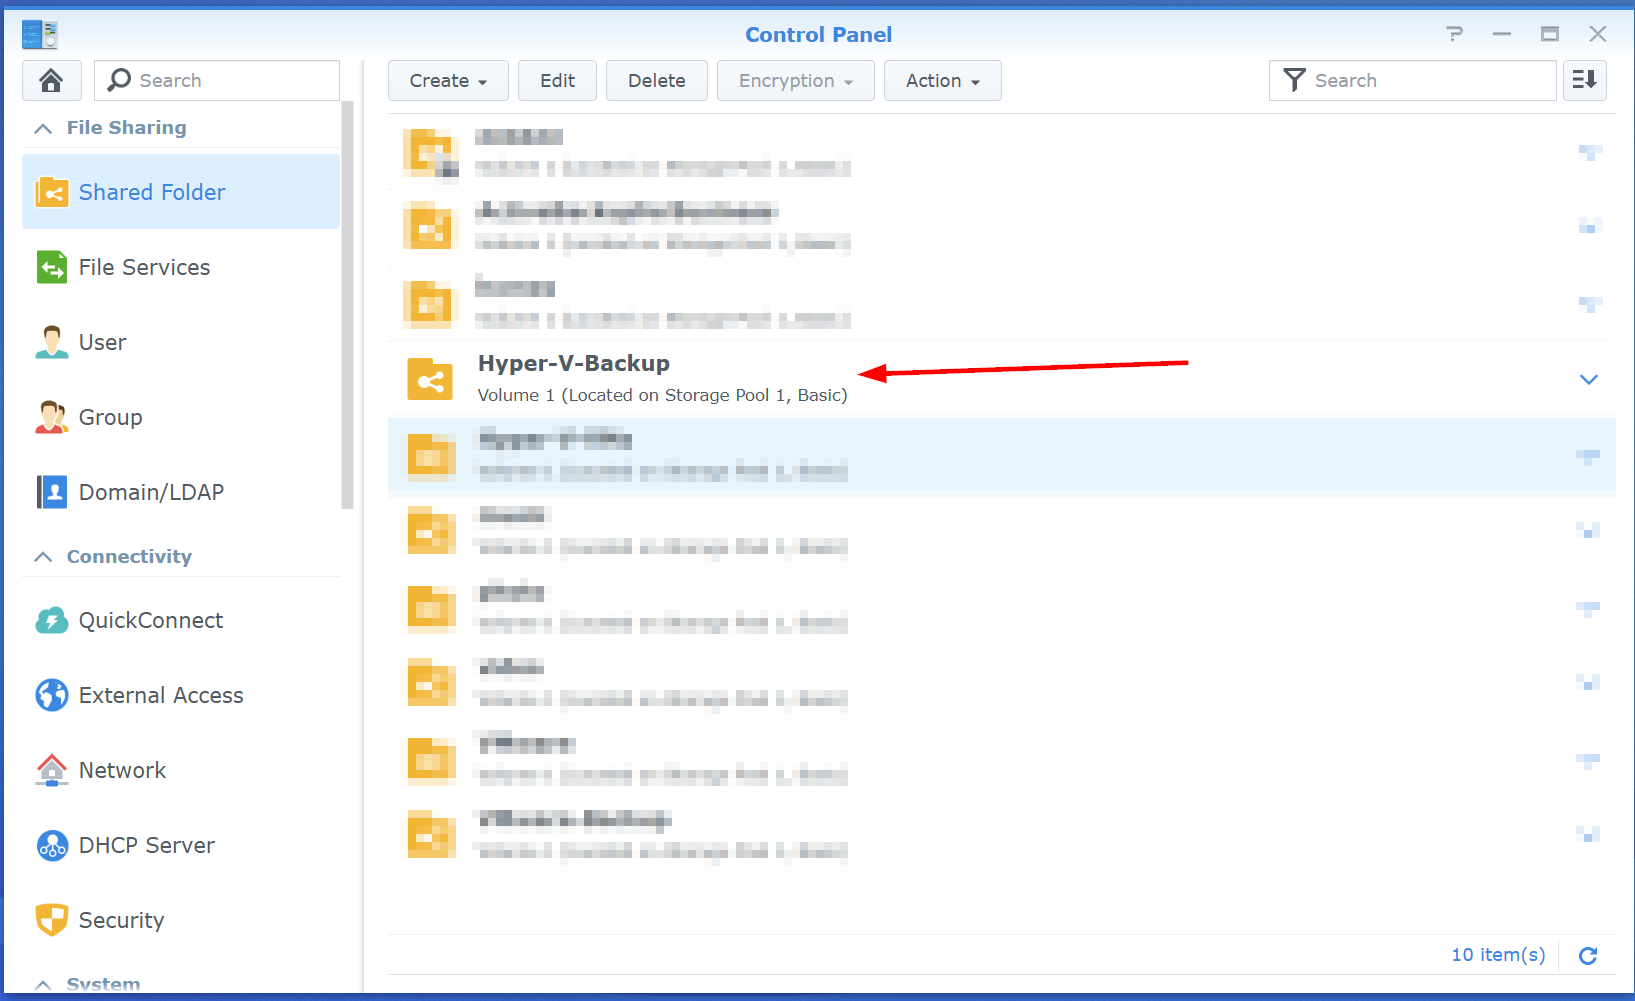
- Under File Sharing, click on Share Folder.
- Click on Create > Create to create a new shared folder.

- Enter the shared folder name and description and then click Next. For the volume, choose the available one. If you don’t have a volume, click Create a Volume.

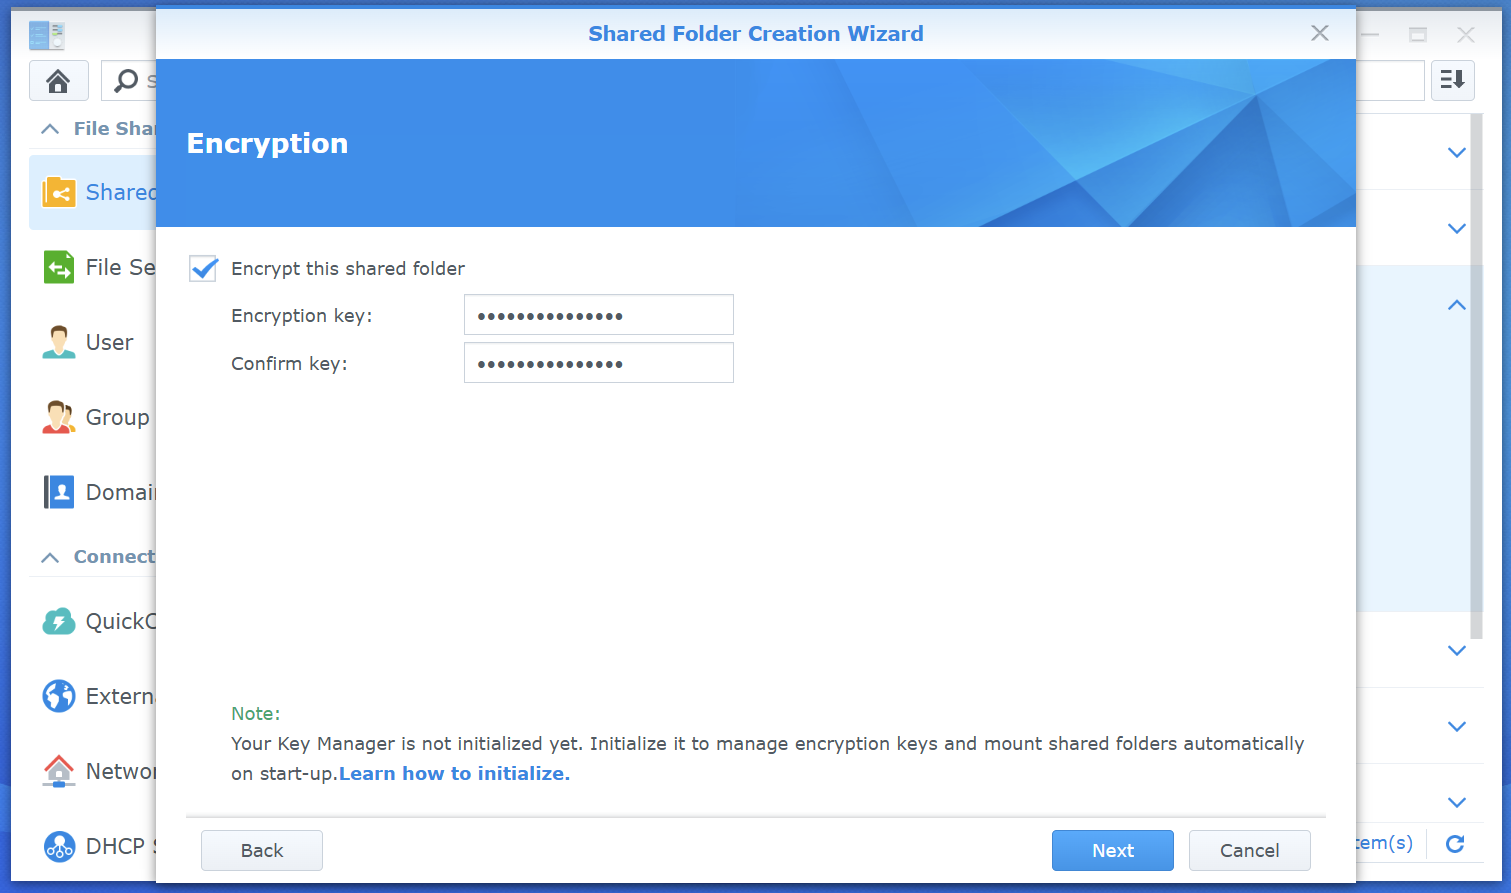
- Enable encryption for the shared folder, enter the encryption keys, and click Next. Using encryption is optional.
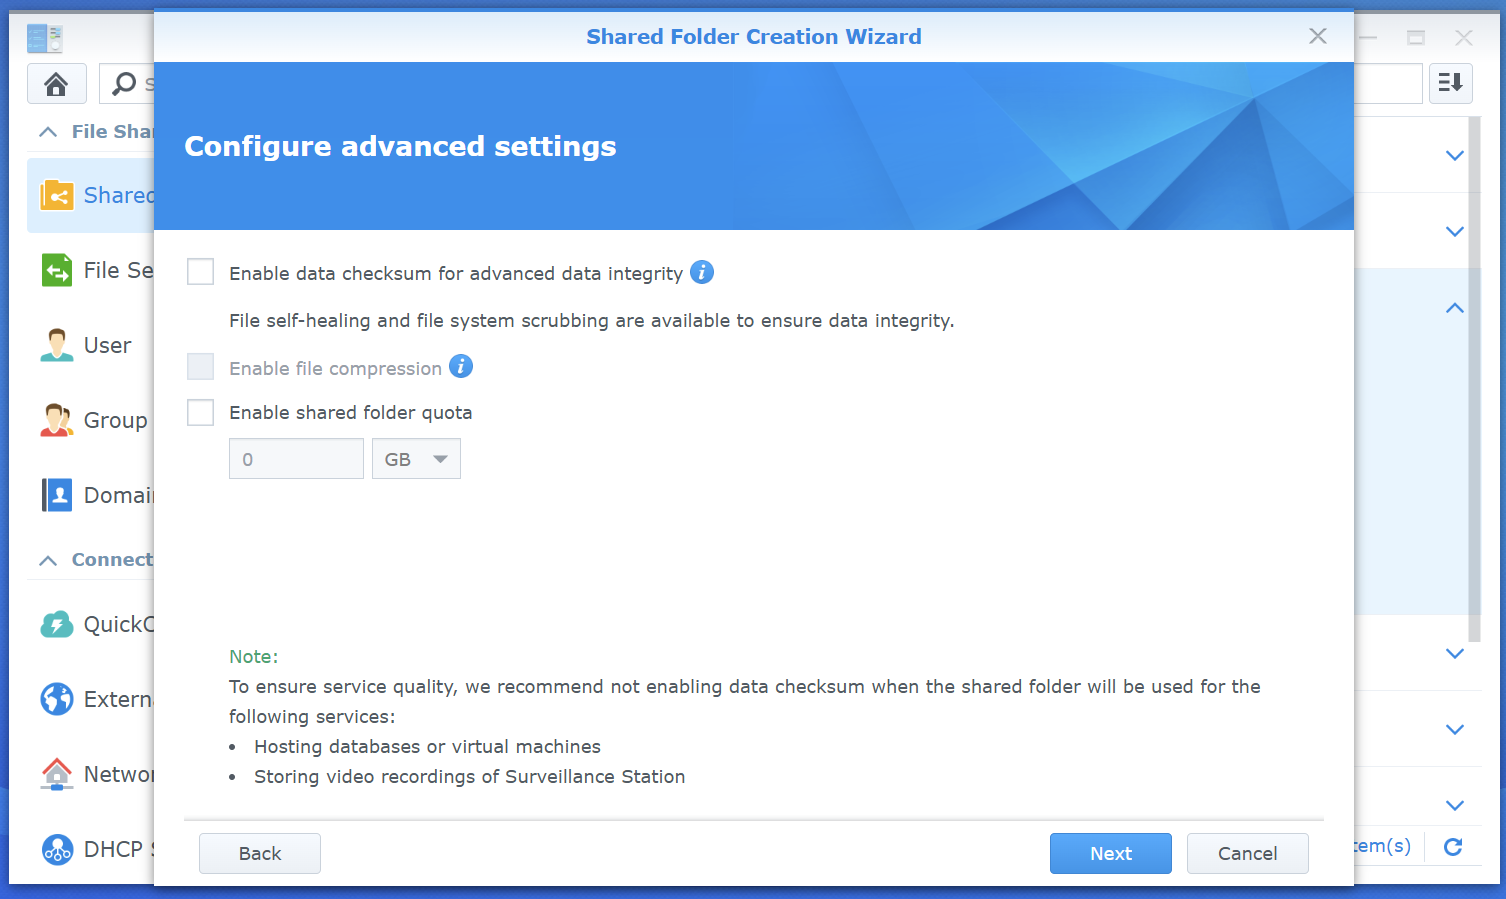
- Under Configure Advanced Settings, click Next. Here, you can enable data checksum for data integrity. This option is recommended if you plan to host databases, and virtual machines, or store video recordings from your security surveillance.
- Review the settings, and if everything looks good, click Apply.
- If you enabled encryption, the encryption key will be exported. Make sure to save it in a safe location.
- Select the user who will be used to write backup data to the shared folder, select Read/Write permission, and click OK. This user will also be used in the backup solution, so make sure to create a dedicated user for this purpose.

That’s it! A few steps are all you need to create a shared folder to store your backup copies.
In the next step, you’ll need to integrate your Synology NAS with your backup solution and assign a shared folder as a backup destination.
If you have any questions, feel free to drop a comment or reach out via the contact form.

