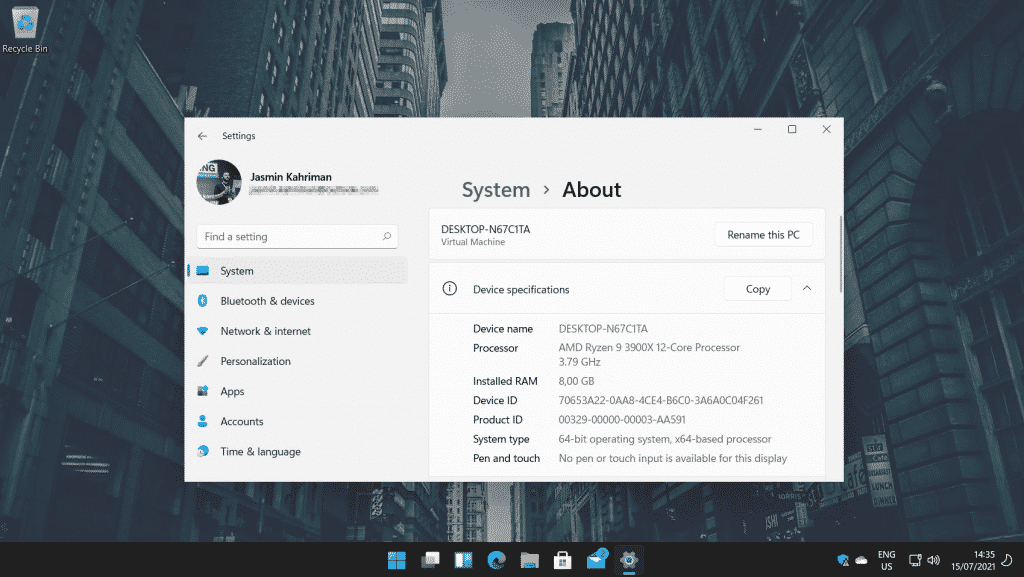
October 5th, 2021. Windows 11 is now generally available. It delivers modern and fresh design, it utilizes the power of the cloud and Microsoft 365, Microsoft Teams comes integrated and delivers the best Windows ever for gaming. If you are coming from the network monitoring world, you are probably asking yourself if you can still monitor your Windows 11 machines using SNMP.
The short answer is: “Yes, you can”. But, how? Can you still install it via Control Panel? Does it include SNMP?

Microsoft deprecated SNMP from Control Panel > Add Program and Features applet due to security reasons. In other words, you can´t install it anymore using GUI, but Windows Terminal.
In order to install the SNMP service, follow the instructions below.
- Right click on Start Menu and select Windows Terminal (Admin). It was called PowerShell in Windows 10.
- Type the following command and press Enter.
Add-WindowsCapability -Online -Name “SNMP.Client~~~~0.0.1.0“
- Right click on Start Menu > Run > type services.msc to open Services applet and then navigate to installed SNMP Service > Right click > Properties.
- Click on the Security tab to configure community string and ACL.
- Click on Add… under Community to create a community string. In my case, the community string is called prtg.
- Select Accept SNMP packets from these hosts and click Add… to add the IP of your NMS (Network Monitoring Solution). In my case, the IP is 192.168.88.245 which is my PRTG Core Server. This means Windows machine will only accept SNMP communication coming and going to my NMS.

- Click Apply and OK and you are done.
THE MONITORING PART
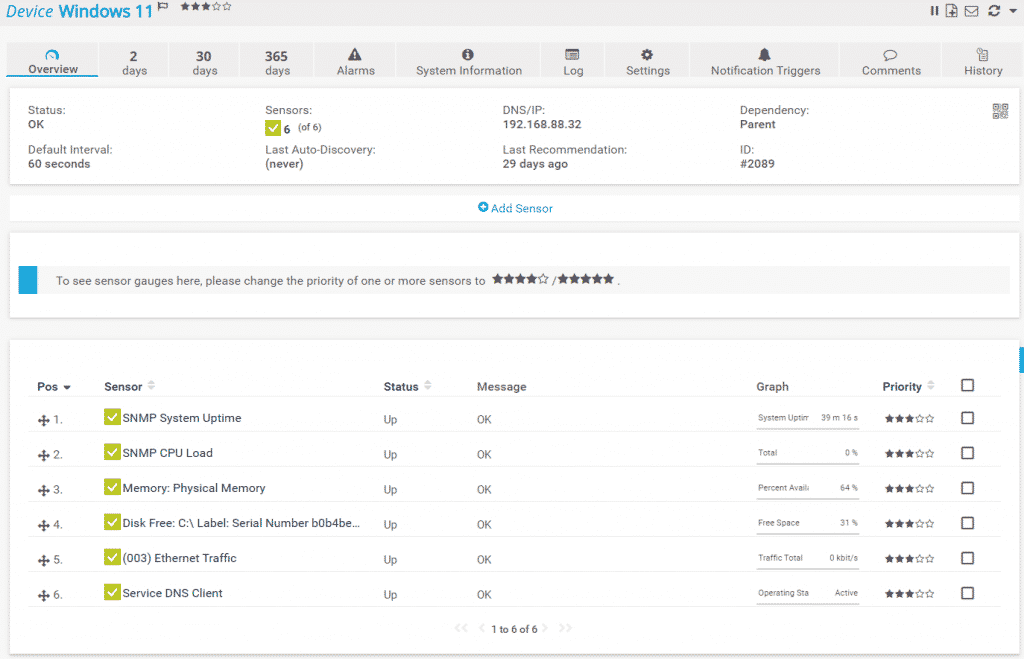
SNMP is ready and you can monitor your Windows 11 machine by using SNMP, or SNMP Traps (requires additional configuration). In the case below, I do monitor different metrics (uptime, CPU load, RAM, HDD usage, network traffic, and DNS service) on my Windows 11 machine using PRTG.

What if you need to perform secured Windows monitoring using SNMPv3?
Microsoft doesn’t natively support SNMP v3 (encryption, authentication). As it isn’t possible to achieve it due to the lack of native SNMP v3 functionalities in Windows and Windows Server, the alternative is to install and use third-party SNMP v3 agents. I got you covered with an article that explains all the steps How to achieve SNMPv3 compliance in Windows and Windows Server.
If you think this article is useful and it can be useful to other IT folks, please feel free to share it via the social media buttons below. In case of any questions, feel free to comment or contact me.


Christian
September 9, 2021 at 07:53
How can I install the SNMP service on devices wich have no internett access (e.g. in manufacturing environment?
Jasmin Kahriman
September 9, 2021 at 19:12
Hi Christian – are you referring to Windows machines or devices in general?
Chris P
September 10, 2021 at 14:29
Given that Microsoft is clearly not interested in native support of SNMPv3 and is moving away from WMI in favour of the PSRemoting based CIM PowerShell cmdlets, is there native support in PRTG for using those more modern options without building custom PowerShell sensors? One of the key features of PRTG that I find particularly useful is that it’s agentless, if we have to install an agent anyway that advantage goes away.
Jasmin Kahriman
September 22, 2021 at 20:02
Hi, Chris. Currently, that is only possible to achieve using PowerShell sensors.
Diego Signoretti
August 3, 2023 at 17:02
do you know which OID to monitor to get CPU temperature in a windows pc?
Jasmin Kahriman
August 22, 2023 at 09:01
Hey Diego – please try with this one 1.3.6.1.4.1.2021.10.1.3.1.