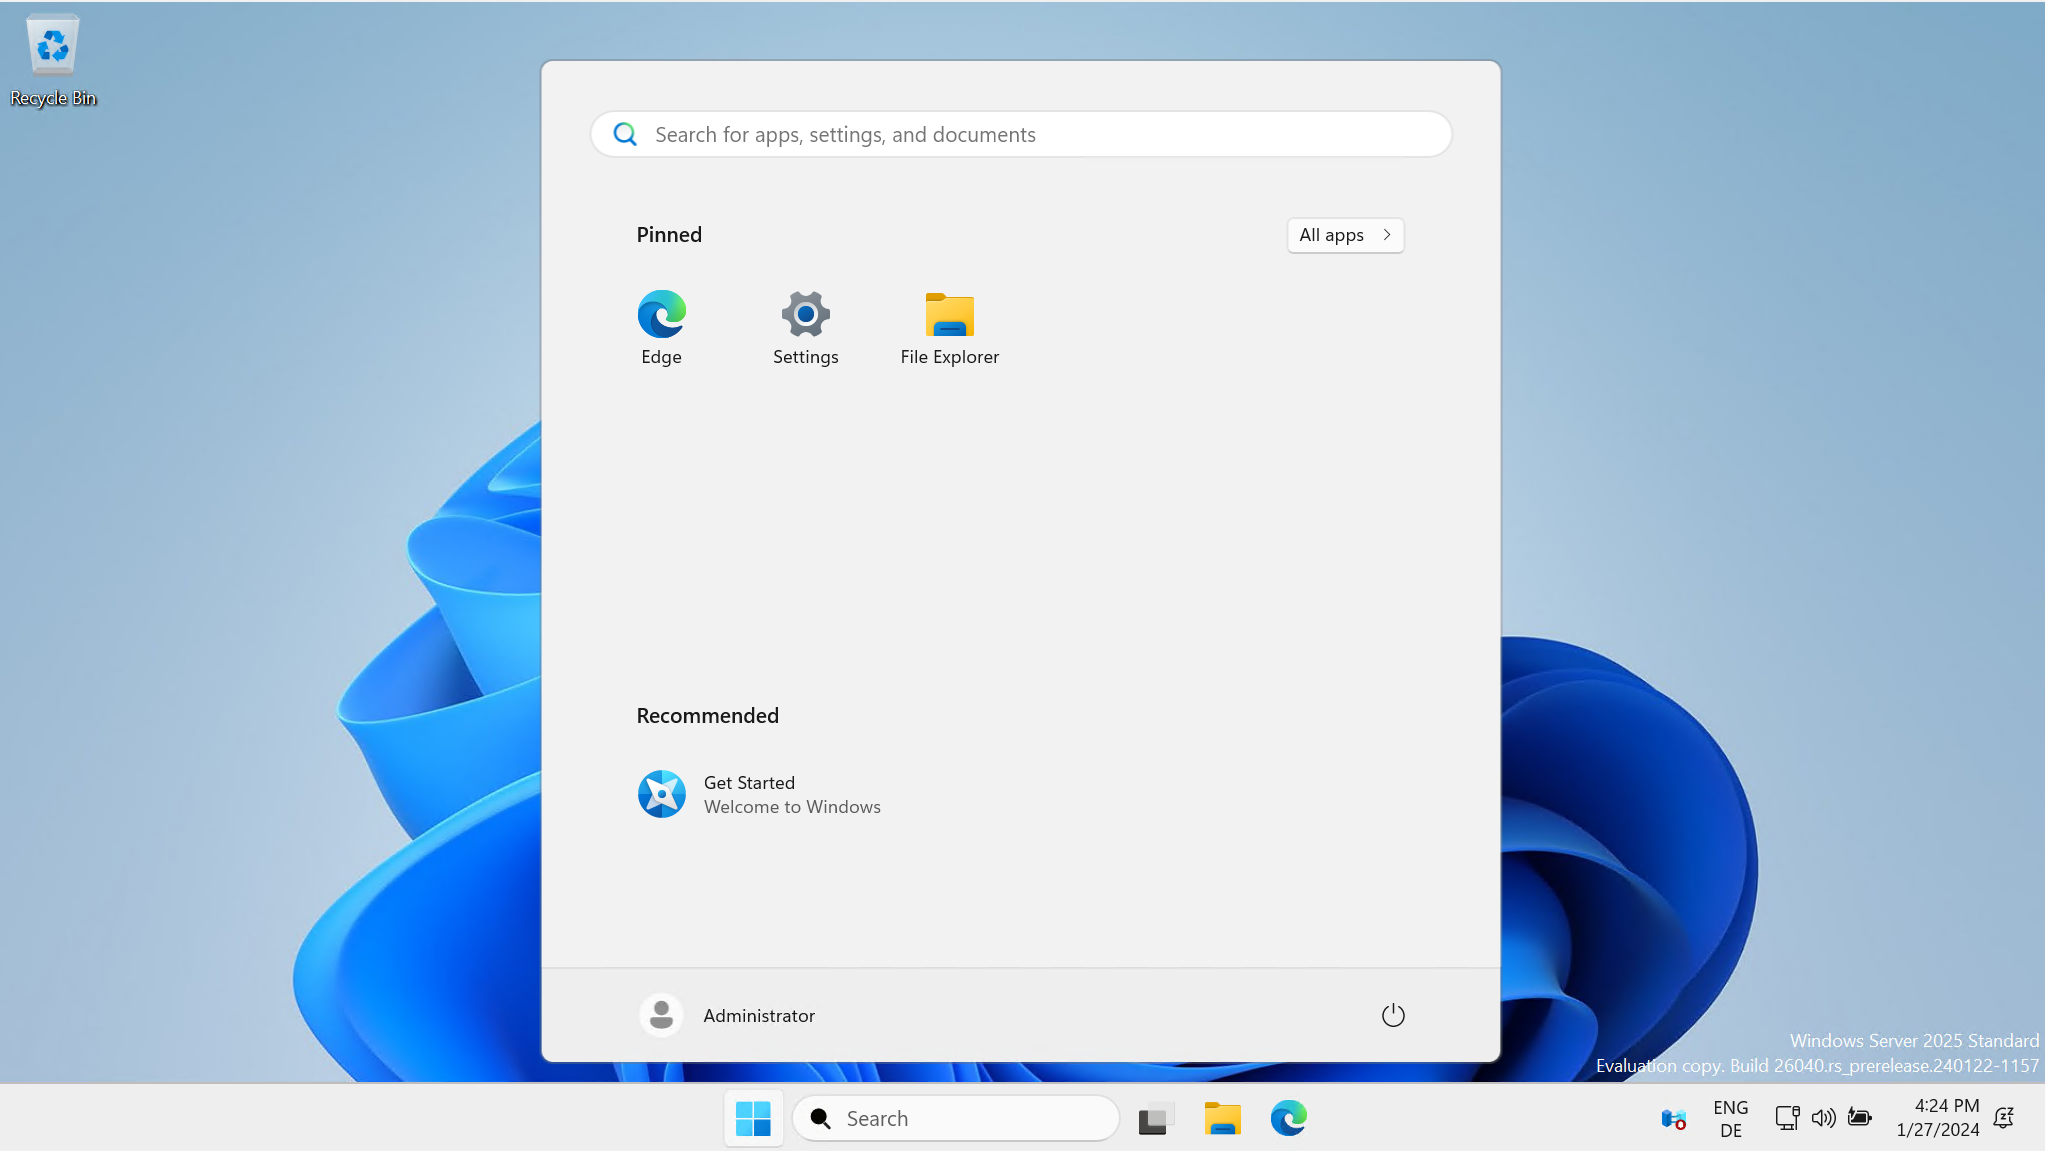
Windows Server 2025 has not been officially released yet; however, I am pleased to be a part of the Windows Insider Program and have the chance to play with it.
It comes with a bunch of new features, from a new installation experience and Active Directory functional level to more cloud-related functionalities.
My world revolves around network monitoring, and this article is about that.
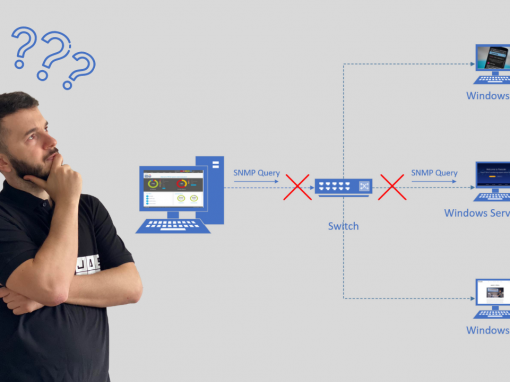
The first thing that popped into my mind is whether you can still monitor Windows Server 2025 using SNMP.
This blog article is about Windows Server 2025 and SNMP.
To Be or Not to Be
The good thing is nothing has changed. Still, in Windows Server 2025, SNMP is available as a feature and can be installed.
SNMP is still there.
This is a preview version, and there is no expectation that SNMP will be removed in the official release. It is still utilized by many customers who rely on SNMP for monitoring.
Is there anything new with SNMP?
There are no improvements or changes regarding SNMP in Windows Server 2025. Unfortunately, it still only supports v1 and v2c, and SNMP v3 is not supported.
It seems Microsoft doesn’t have the intention to introduce SNMP v3, which comes with security features.
Installation types
As with previous Windows Servers, you can install and configure Windows Server 2025 in two ways: one is using Server Manager, and the other is using PowerShell.
This article covers the one using Server Manager.
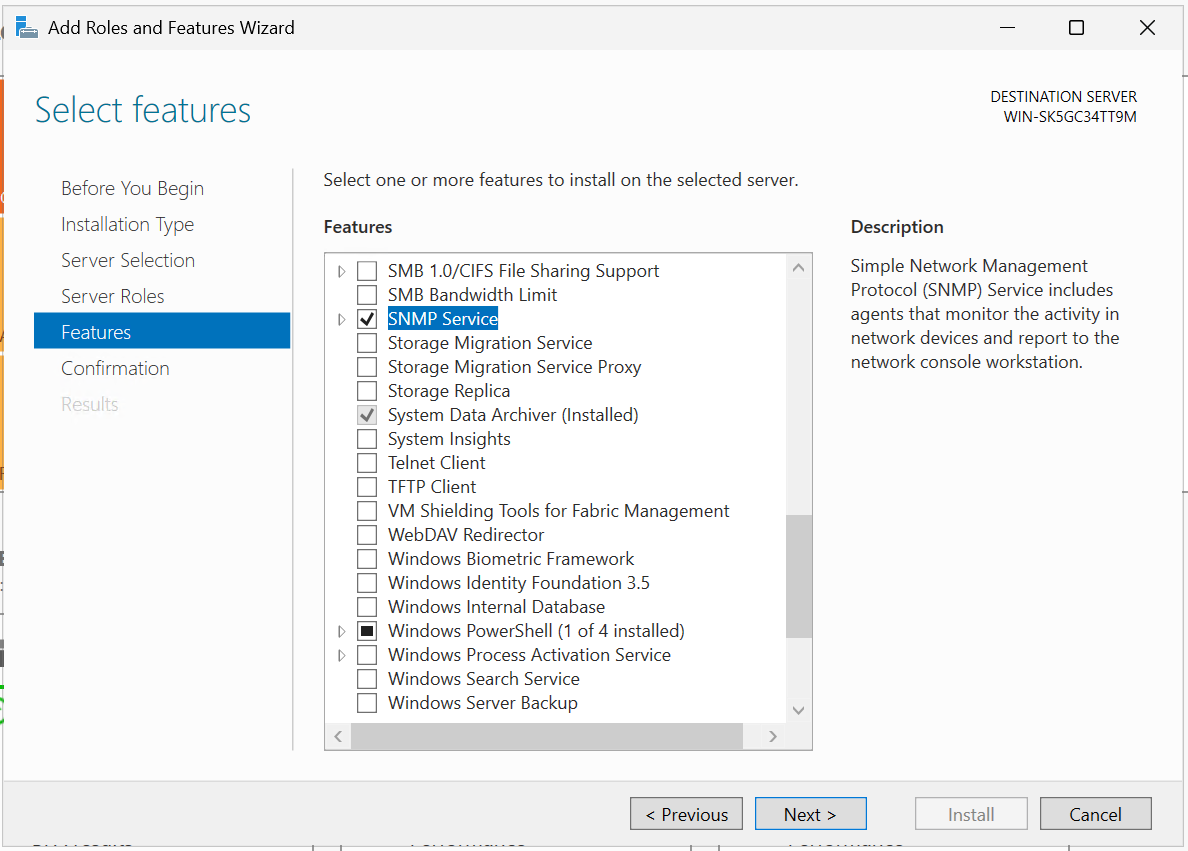
Step 1: Enable SNMP Service
In the first step, you need to install SNMP. The process is the same as in the previous version of Windows Server. It is cool that Microsoft didn’t change it.
- Open Server Manager on your Windows Server.
- Click on “Add roles and features.”
- In the wizard, click “Next” four times without changing any settings.
- Under “Select features,” locate and select “SNMP Service.”
- After selecting SNMP Service, click on “Add Features” and then click “Next” to proceed.
- Click “Install” and wait until the process is finished.
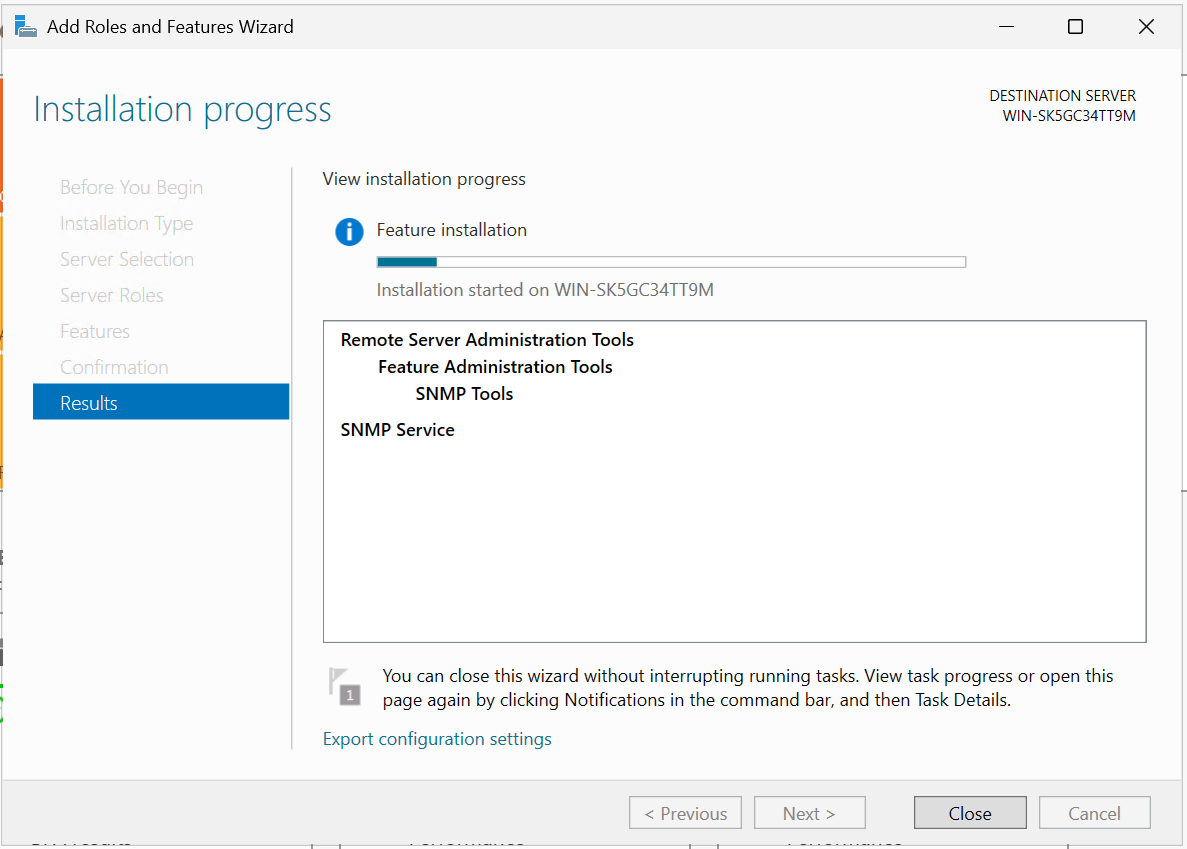
- Click “Close” once the installation is finished.
Step 2: Configure SNMP Service
In the second step, we need to configure SNMP settings, including community string and SNMP incoming settings.
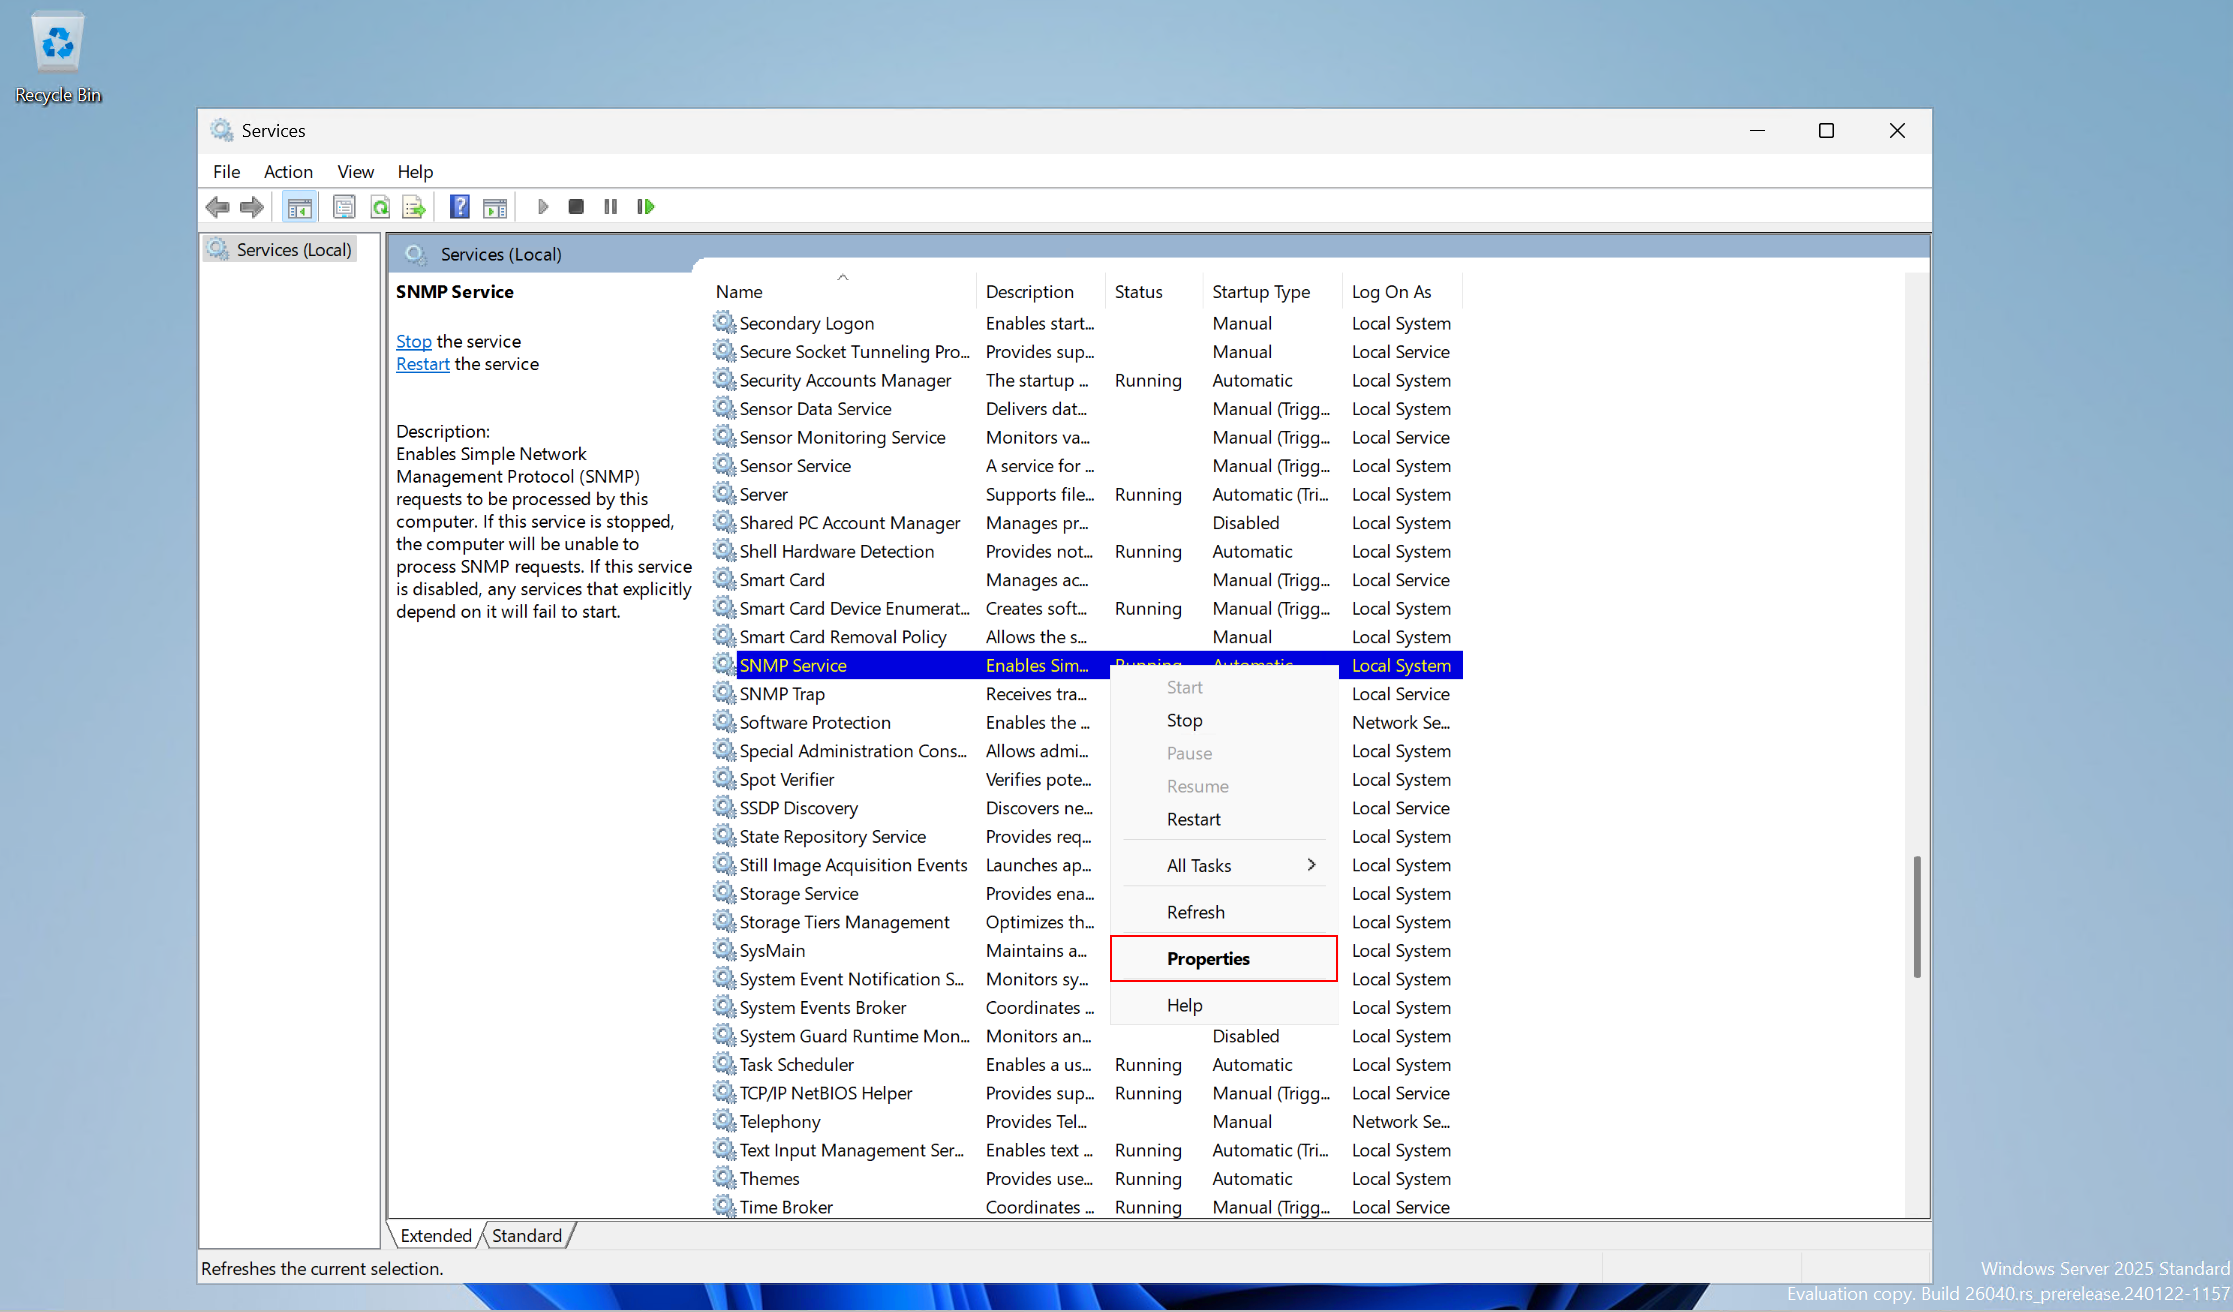
- Right-click on the Start Menu > Run > type services.msc to open the Services applet, then navigate to the installed SNMP Service > Right-click > Properties.
- Click on the Security tab to configure the community string and ACL.
- Click on Add… under Community to create a community string. In my case, the community string is called ‘prtg.’
- Select ‘Accept SNMP packets from these hosts’ and click Add… to add the IP of your NMS (Network Monitoring Solution). In my case, the IP is 192.168.88.245, which is my PRTG Core Server. This means the Windows machine will only accept SNMP communication coming to and going from my NMS.
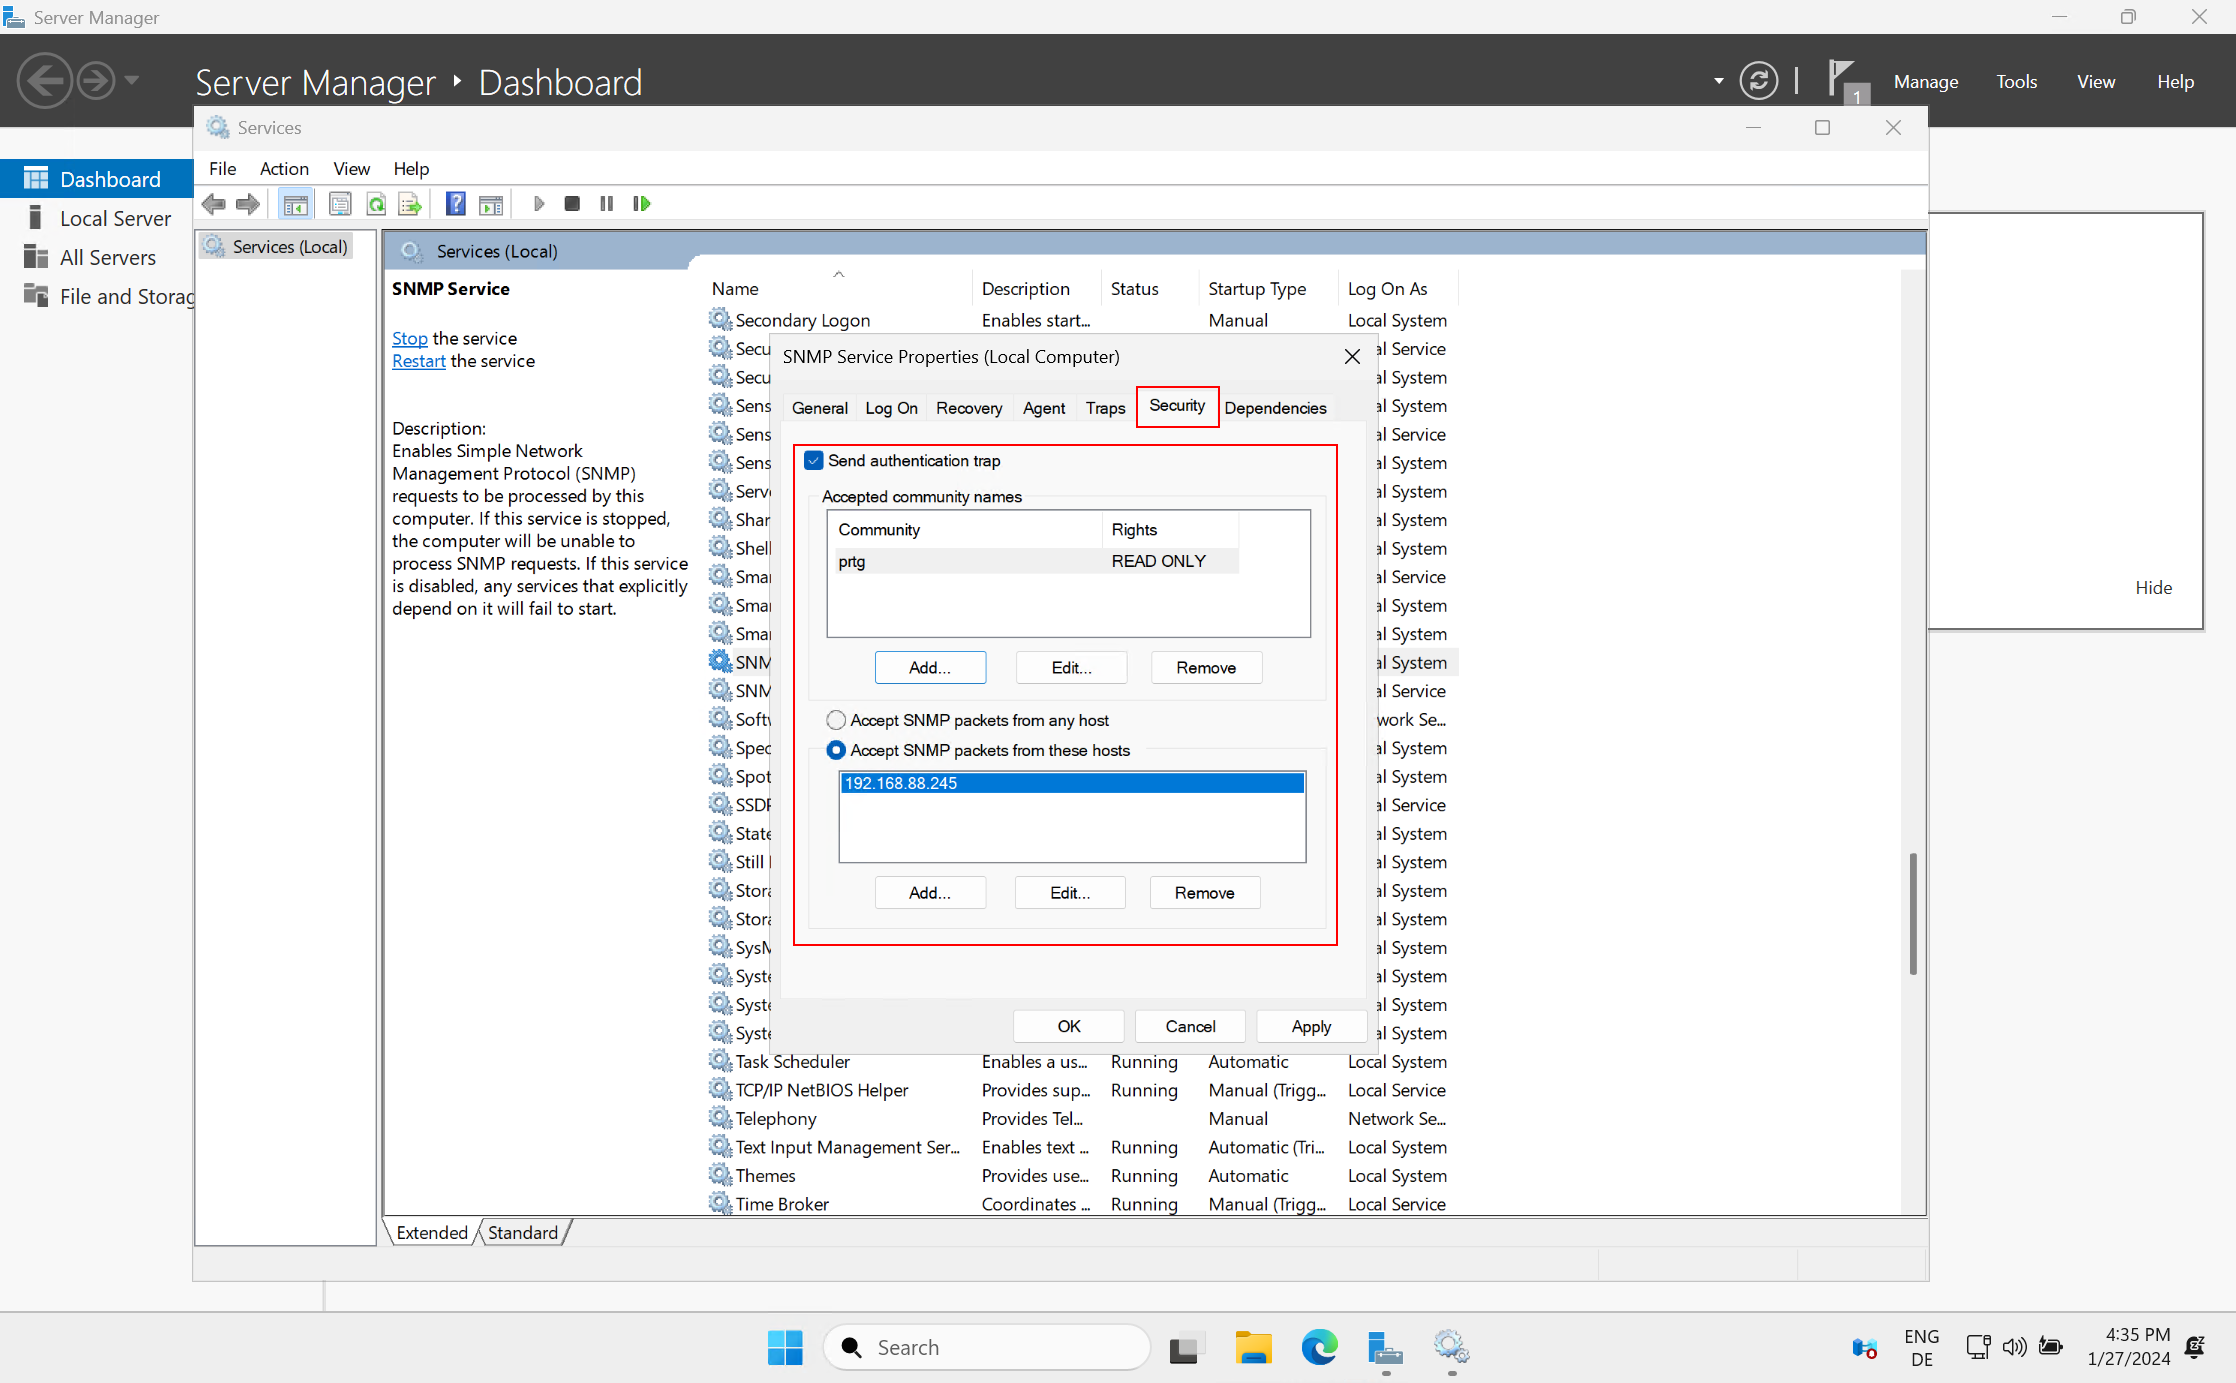
- Click “Apply” and “OK” to complete the configuration.
Step 3: Start Monitoring
Now, you can monitor your Windows Server 2025 machines using SNMP or SNMP Traps (requires additional configuration).

In my case, below, I am monitoring several metrics (uptime, CPU load, RAM, HDD usage, network traffic, and DNS service) using PRTG and SNMP.
Thank you for reading this article.
Feel free to drop me a comment or email if you have any questions.