
The latest RHEL release is here. Red Hat Enterprise Linux (RHEL) 8.3 is a powerful and intelligent OS for any hybrid cloud, any cloud and any workload. It has key features – from container tools to deploy tomorrow´s technology, today. It has also SNMPv3 compatibility which gives us the opportunity to securely monitor the health state of our RHEL infrastructure.
Today, I´ll show you how you can enable and configure SNMPv3 on your RHEL. Regardless this article is based on the latest version of RHEL, you can apply the same procedure to previous versions. Before doing that, I guess you know: it is mandatory that your Red Hat Enterprise is registered to Red Hat Subscription Management.
Once you log in to Red Hat, open Terminal and type the command below to install SNMP Daemon. sudo is the SuperUser, yum is a tool for getting, installing, deleting, querying and managing software packages in Red Hat Enterprise Linux versions 5 and later. Type Y to confirm the installation.
sudo yum install net-snmp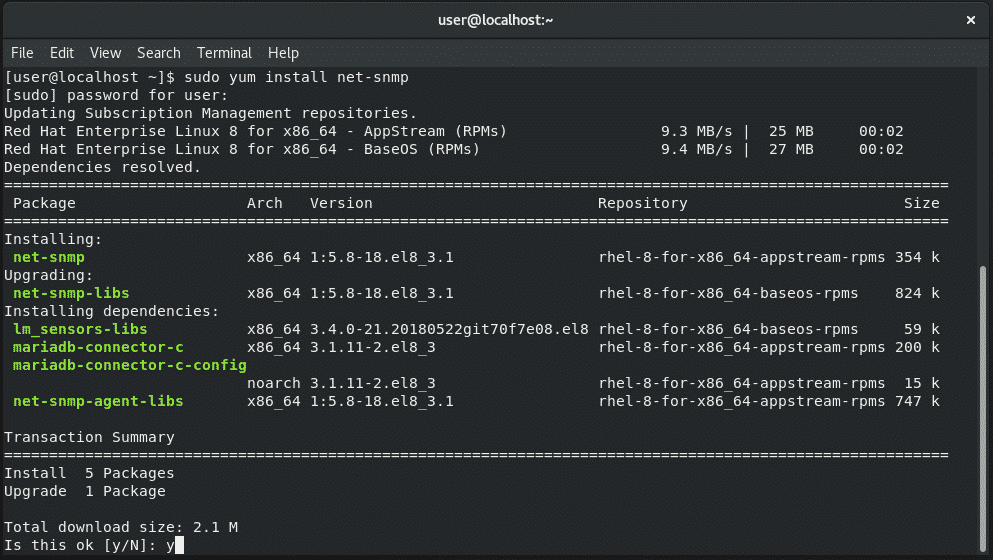
Once the SNMP is installed and automatically started, you´ll need to stop the SNMP service in order to create an SNMP v3 user. Type the command below to stop the service.
sudo service snmpd stopCreate an SNMP user that will be used to authenticate to your Red Hat server. Alongside the user creation, we´ll also define the authentification algorithm, encryption, and key. Type the following command to do it:
net-snmp-create-v3-user [-ro] [-A authpass] [-a MD5|SHA] [-X privpass] [-x DES|AES] [username]where [-ro] is read-only, [-A authpass] is SNMP v3 password, [-a MD5|SHA] are hash algorithm, [-X privpass] is encryption key, [-x DES|AES] are encryption algorithm and [username] is SNMPv3 user. The example from my environment is shown below.
sudo net-snmp-create-v3-user -ro -A mypassword -a SHA -X myencryptionkey -x AES jasmin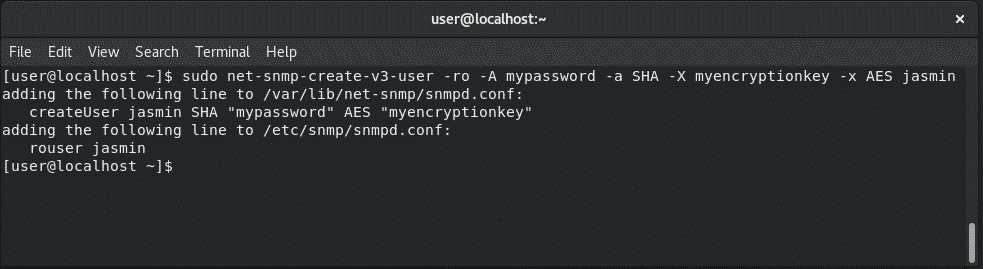
Once the SNMPv3 user is created, start the SNMPv3 service by executing the command below.
sudo service snmpd startIf you want to verify if SNMPv3 is working properly, you can perform an SNMP walk by using SNMPv3 credentials and parameters. Please note you will need to have “net-snmp-utils” installed on your Red Hat before doing the SNMP walk. In case you don’t have it, you´ll be informed in Terminal.
snmpwalk -u jasmin -A mypassword -a SHA -X myencryptionkey -x AES -l authPriv 127.0.0.1 -v3
We did it. Thank you for reading this article. In case of any questions, feel free to comment or contact me.


Kai
September 17, 2021 at 16:30
Hi
Thanks for making this post, it was great to follow.
Can you make another where i change the rouser password?
Jasmin Kahriman
September 22, 2021 at 19:27
Thank you, Kai. I might be doing one in a near future.
Dei
November 9, 2021 at 17:33
Gracias por el articulo, en el caso que se desee actualizar la version 2 a la version 3 solo se debe modificar el archivo snmpd.conf o se requiere realizar algo mas?
Jasmin Kahriman
November 12, 2021 at 06:09
Hi Dei – You need to disable SNMP v1 and v2c in the snmp.conf file, and then follow instructions from the article to enable SNMP v3.
sunsun
October 6, 2023 at 11:38
smnpwalk: Timeout: No response from 127.0.0.1
( from logs:
snmpd[47832]: security service 3 error parsing ScopePDU
Firewalld is open on udp/161.
Noticed that although SHA can be specified ( SHA SHA-256 SHA-512 etc) the keys allow with AES cannot. This is likely a problem with FIPS enabled systems like ours.
Jasmin Kahriman
October 24, 2023 at 10:27
Hey Sunsun – did you manage to solve a problem?