Did you ever find yourself in a situation where you set up a VM on Hyper-V Client on your Windows 10 or 11 machine, and then thought,
“This works well; I want to move it to my Hyper-V Server without rebuilding everything from scratch.”
I’ve had this situation a few times, and I’ve heard the same from students I taught. You see it all over forums as well; many people run into this, especially in their home labs.
So, this step-by-step guide shows you exactly how to export VMs from Windows client editions and import them to Hyper-V Server. It covers how to handle virtual switch mismatches, how to choose the right import type (register vs. copy vs. restore), and how to avoid common migration failures.
For reference, I’m hosting some VMs on my Windows 11 machine, and I want to migrate them to Hyper-V Server 2025 (installed as a role on Windows Server 2025).
The same procedure works with previous versions of Windows and Hyper-V as well.
Prerequisites
There are a couple of prerequisites to keep in mind when moving a VM from Windows to Hyper-V, including:
- Installed Hyper-V Server role or Hyper-V Server Core
- Sufficient resources (CPU, RAM, disk) on the target Hyper-V Server
- Properly configured network virtual switches on the Hyper-V host. You can read more here How to Configure Virtual Switches in Hyper-V (2025 Guide).
- Shared network storage or an external disk drive to transfer the VM
Export the VM from Windows 11
In the first step, you will export the virtual machine to a shared network location. You can also choose to export it to local or removable storage.
- Open Hyper-V Manager on your Windows 10/11 machine.
- Shut down the virtual machine you want to export.
- Right-click on the virtual machine and select Export.

- Specify the destination where you want to save the export and click Export. In my case, I am exporting it to network storage at
\\192.168.2.174\VM-Exports.

- Wait until Hyper-V finishes exporting the VM to the specified location. You can check the progress in the Status field.

Import VM to Hyper-V Server
In the second step, you will import the virtual machine from the shared network location to your Hyper-V Server.
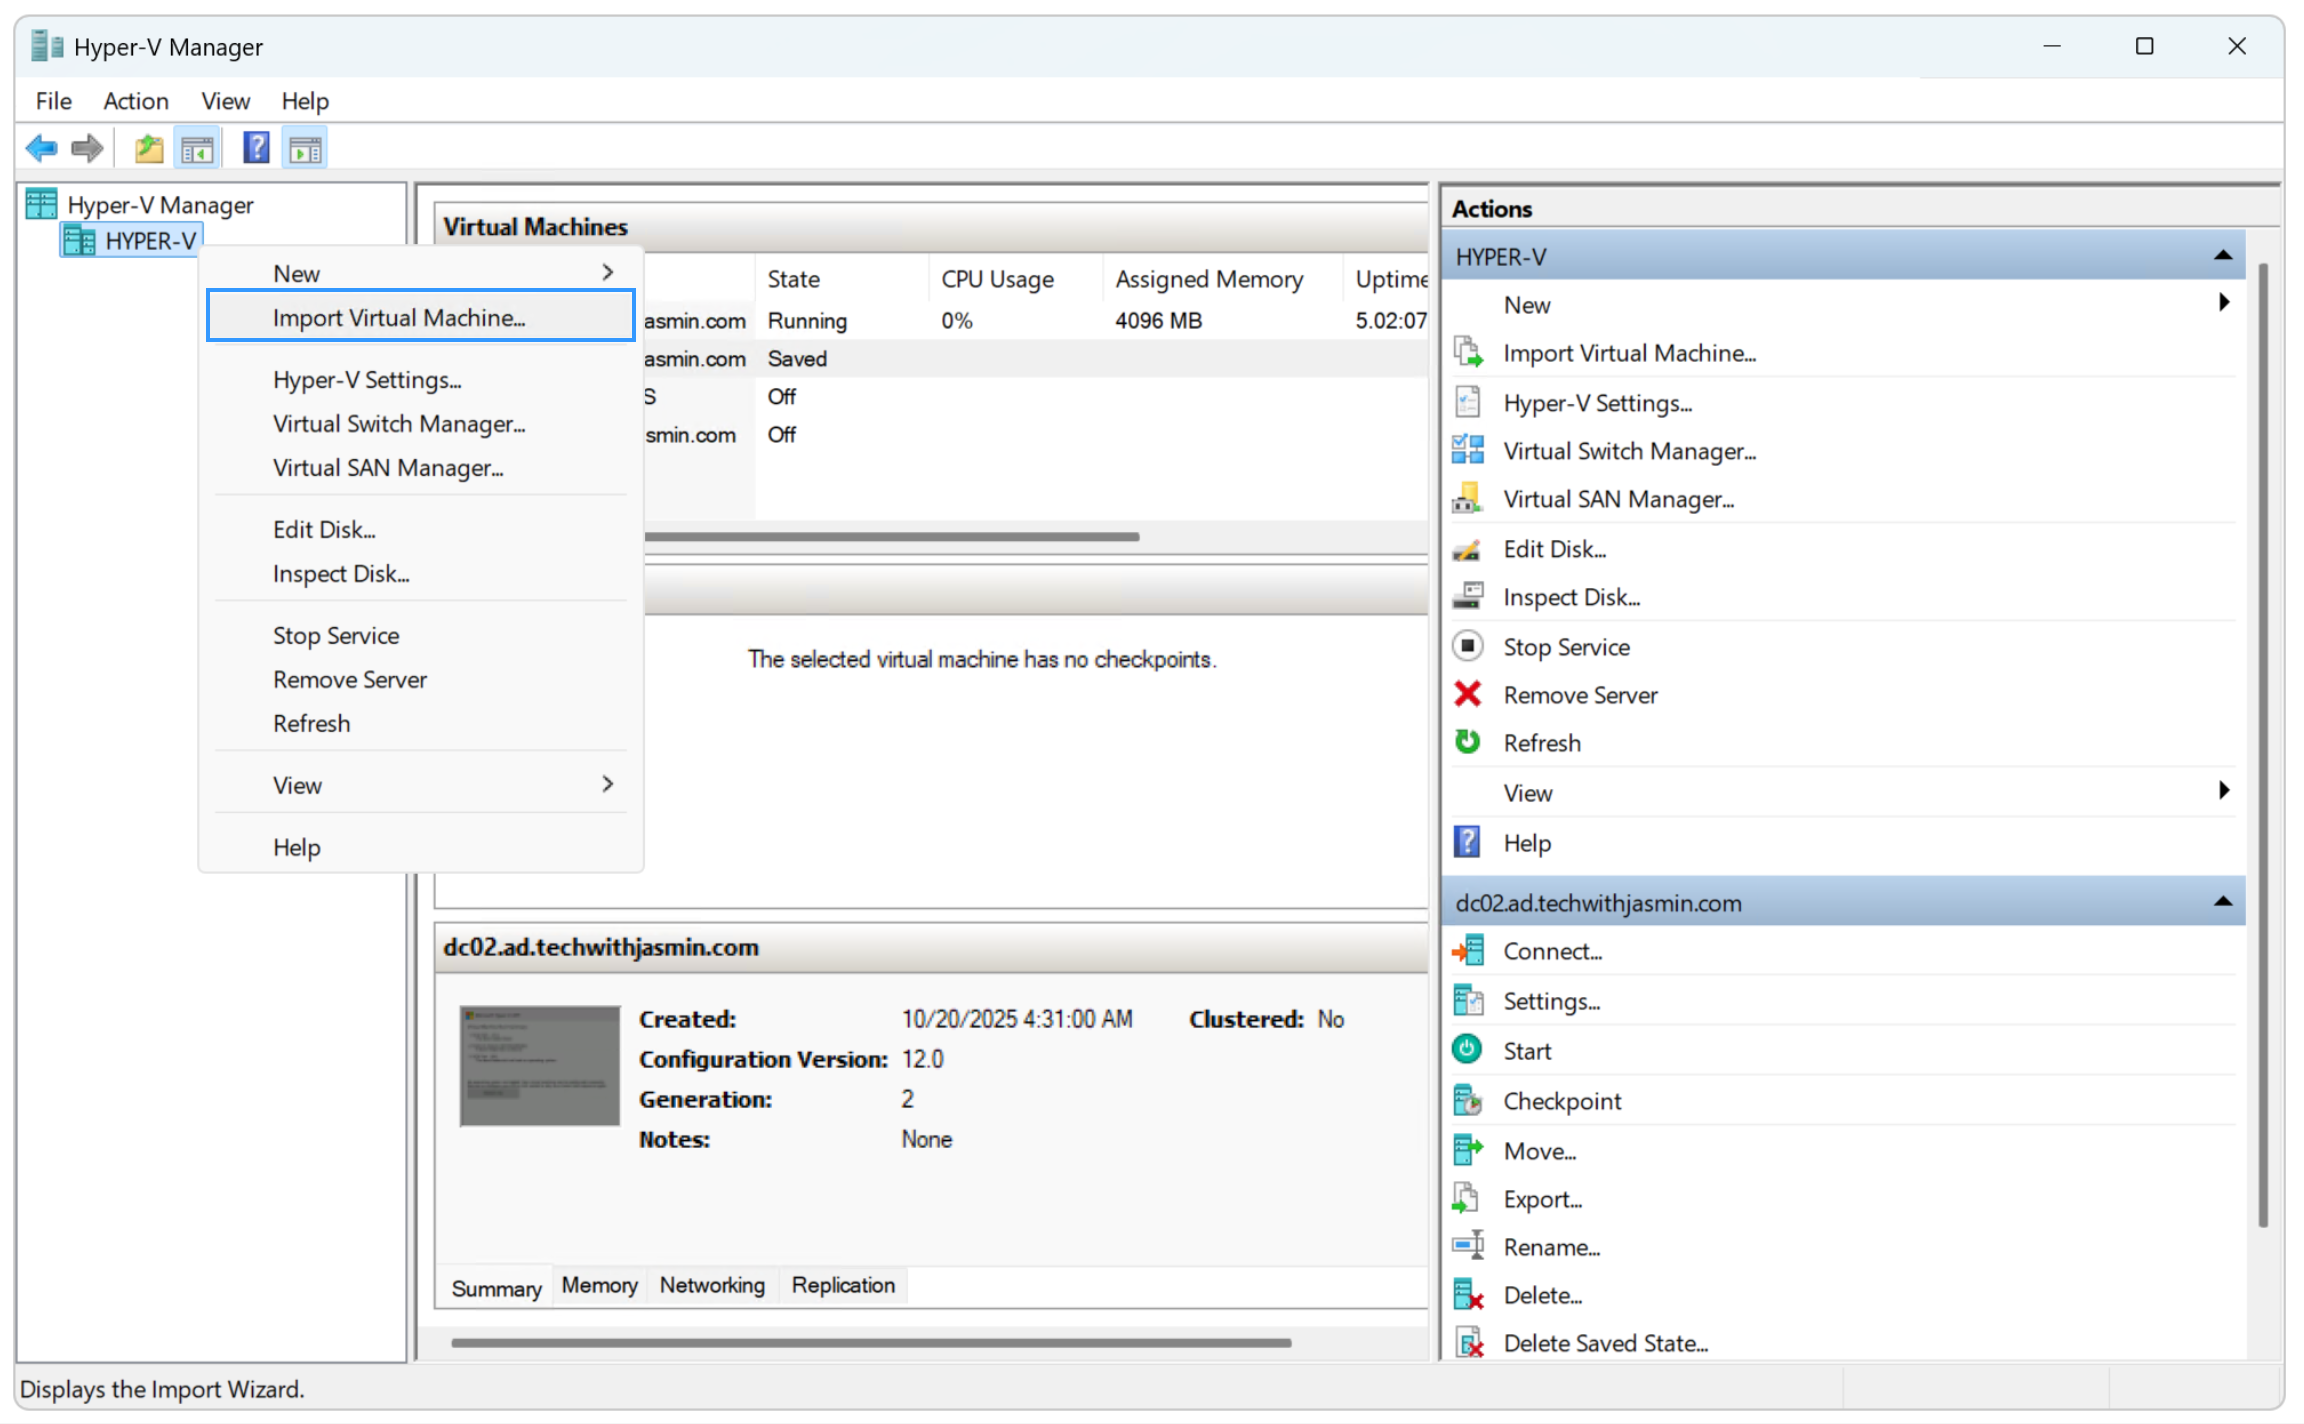
- Open Hyper-V Manager on your Hyper-V server.
- Right-click the Hyper-V host in the left pane and select Import Virtual Machine.
- Click Next.
- Specify the exact folder that contains the virtual machine you want to import. In my case, it’s
\\192.168.2.174\VM-Exports\PRTG Core Server.

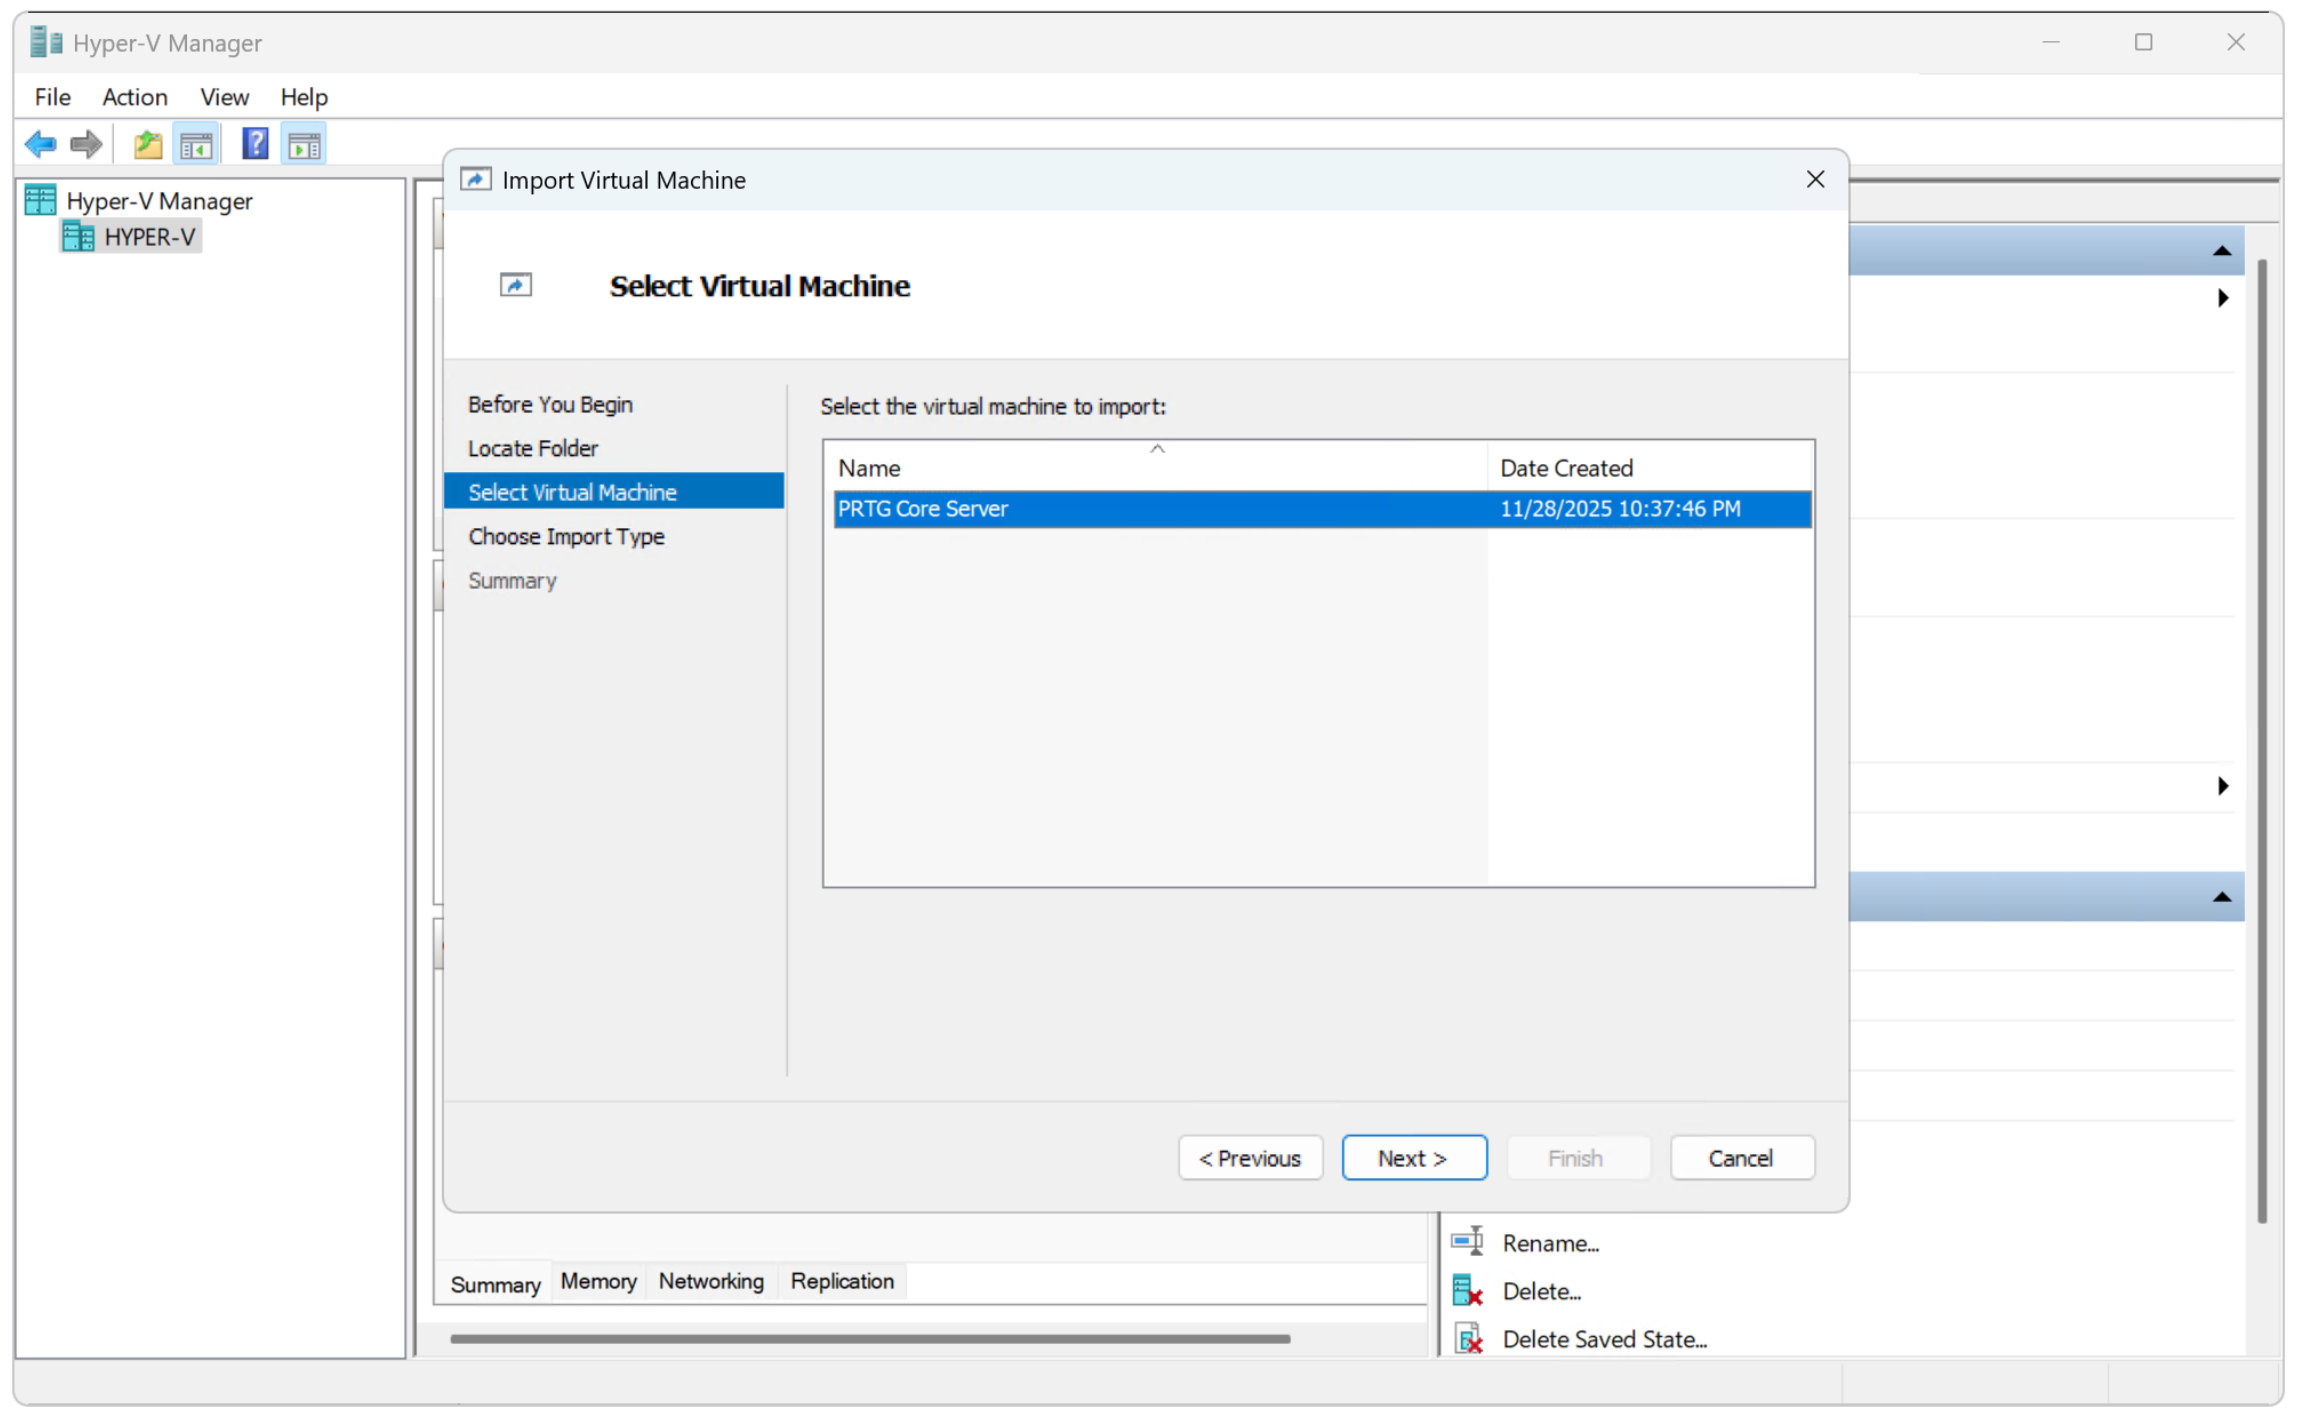
- Select the virtual machine to import, and click Next.
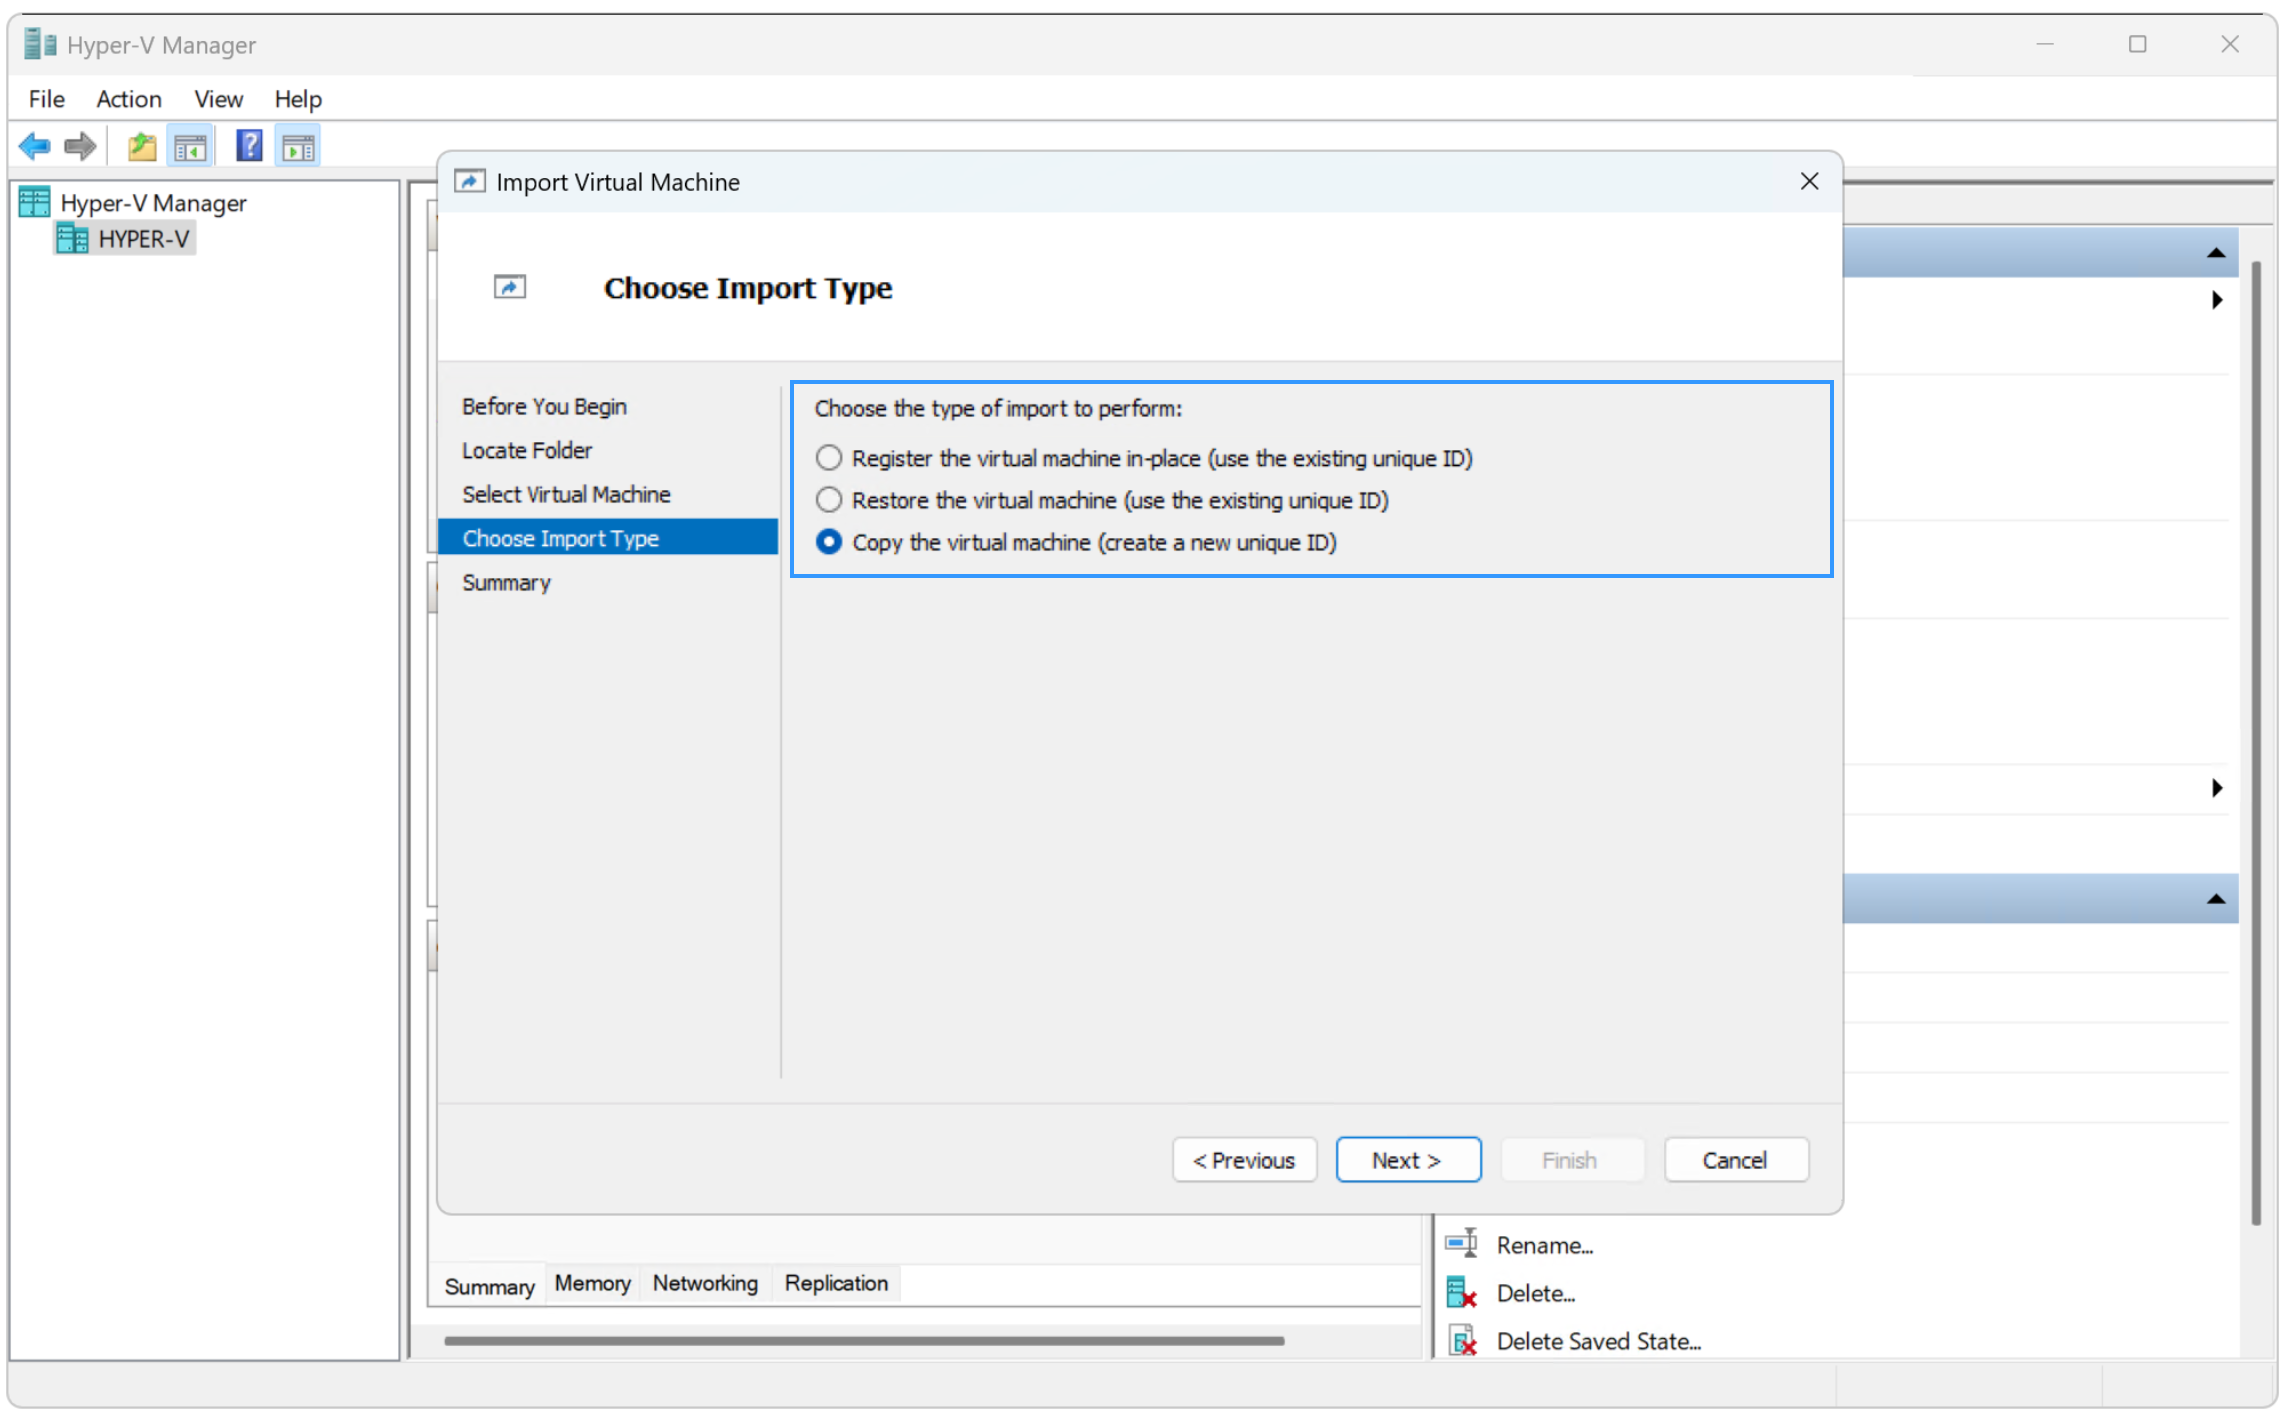
- Choose the type of import to perform, and then click Next. There are three types available:
- Register the virtual machine in-place (use the existing unique ID) – Use this when VM files are already in their permanent location (like external storage or SAN), and Hyper-V will manage the VM directly from that existing location without moving any files.
- Restore the virtual machine (use the existing unique ID) – Use this for disaster recovery or replacing a failed VM, and Hyper-V will copy the files to its default storage location while keeping the same VM ID (the original VM must be deleted first to avoid ID conflicts).
- Copy the virtual machine (create a new unique ID) – Use this to create clones or test copies of an existing VM, and Hyper-V will copy the files to its default location with a brand new VM ID, so both the original and copy can run simultaneously.
- Specify where you want to store the virtual machine and click Next. You can choose new or existing folders; I keep the default settings.

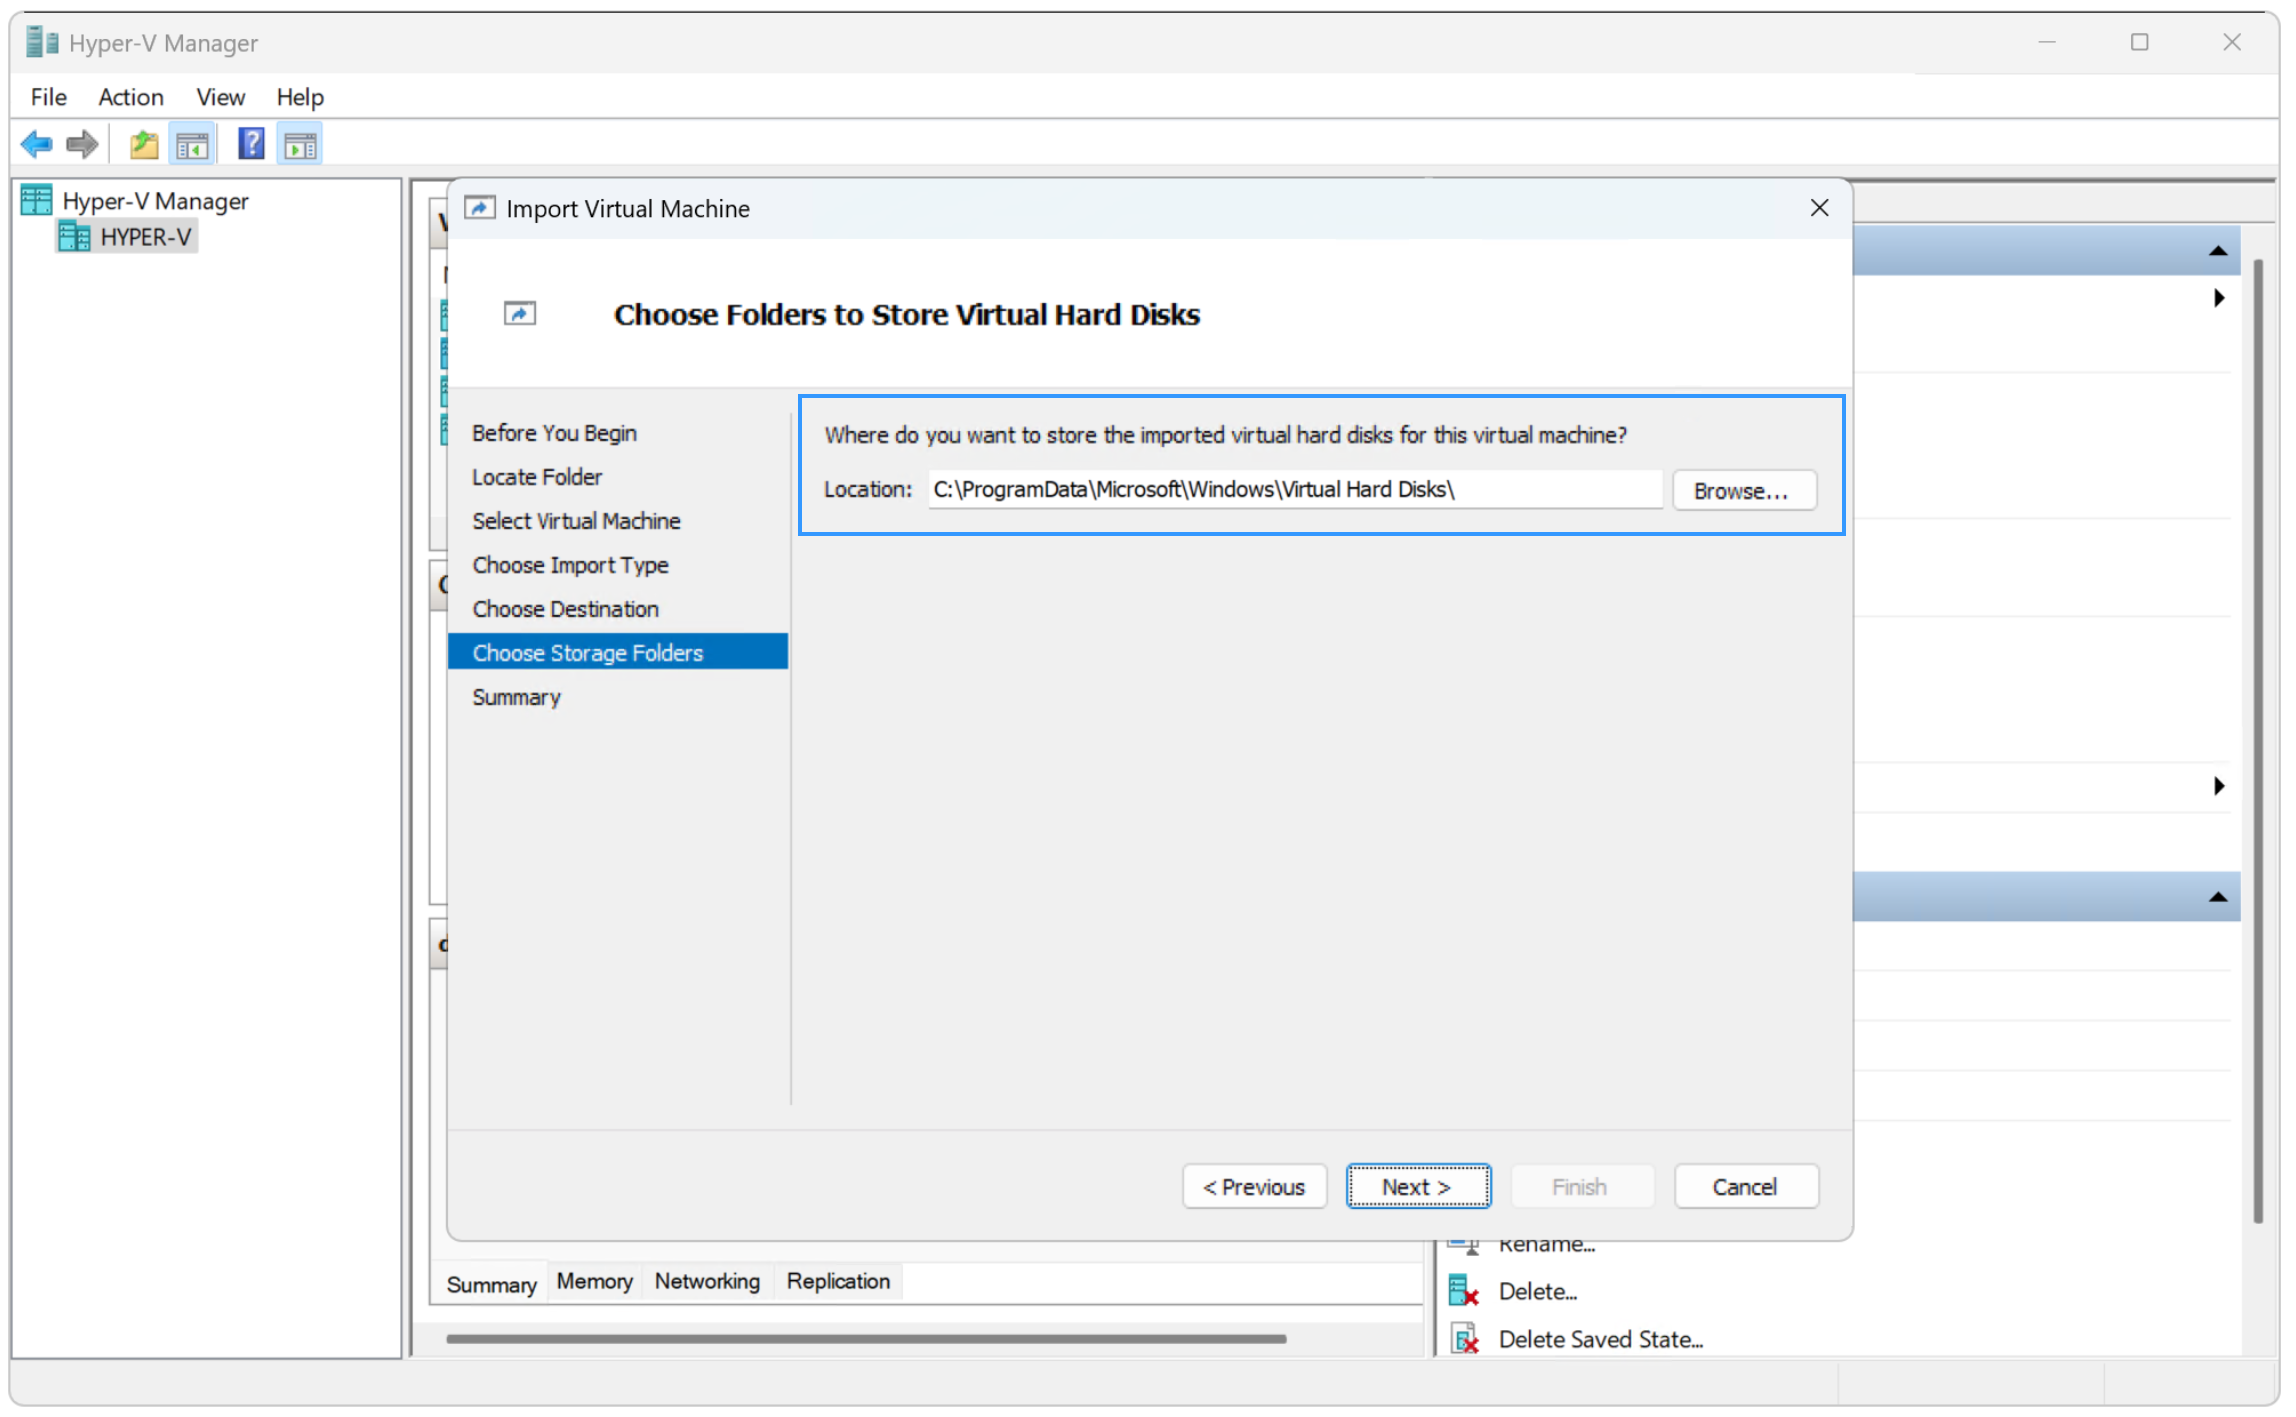
- Choose where you want to store the imported virtual hard disks for the virtual machine, and click Next. I keep the default settings.
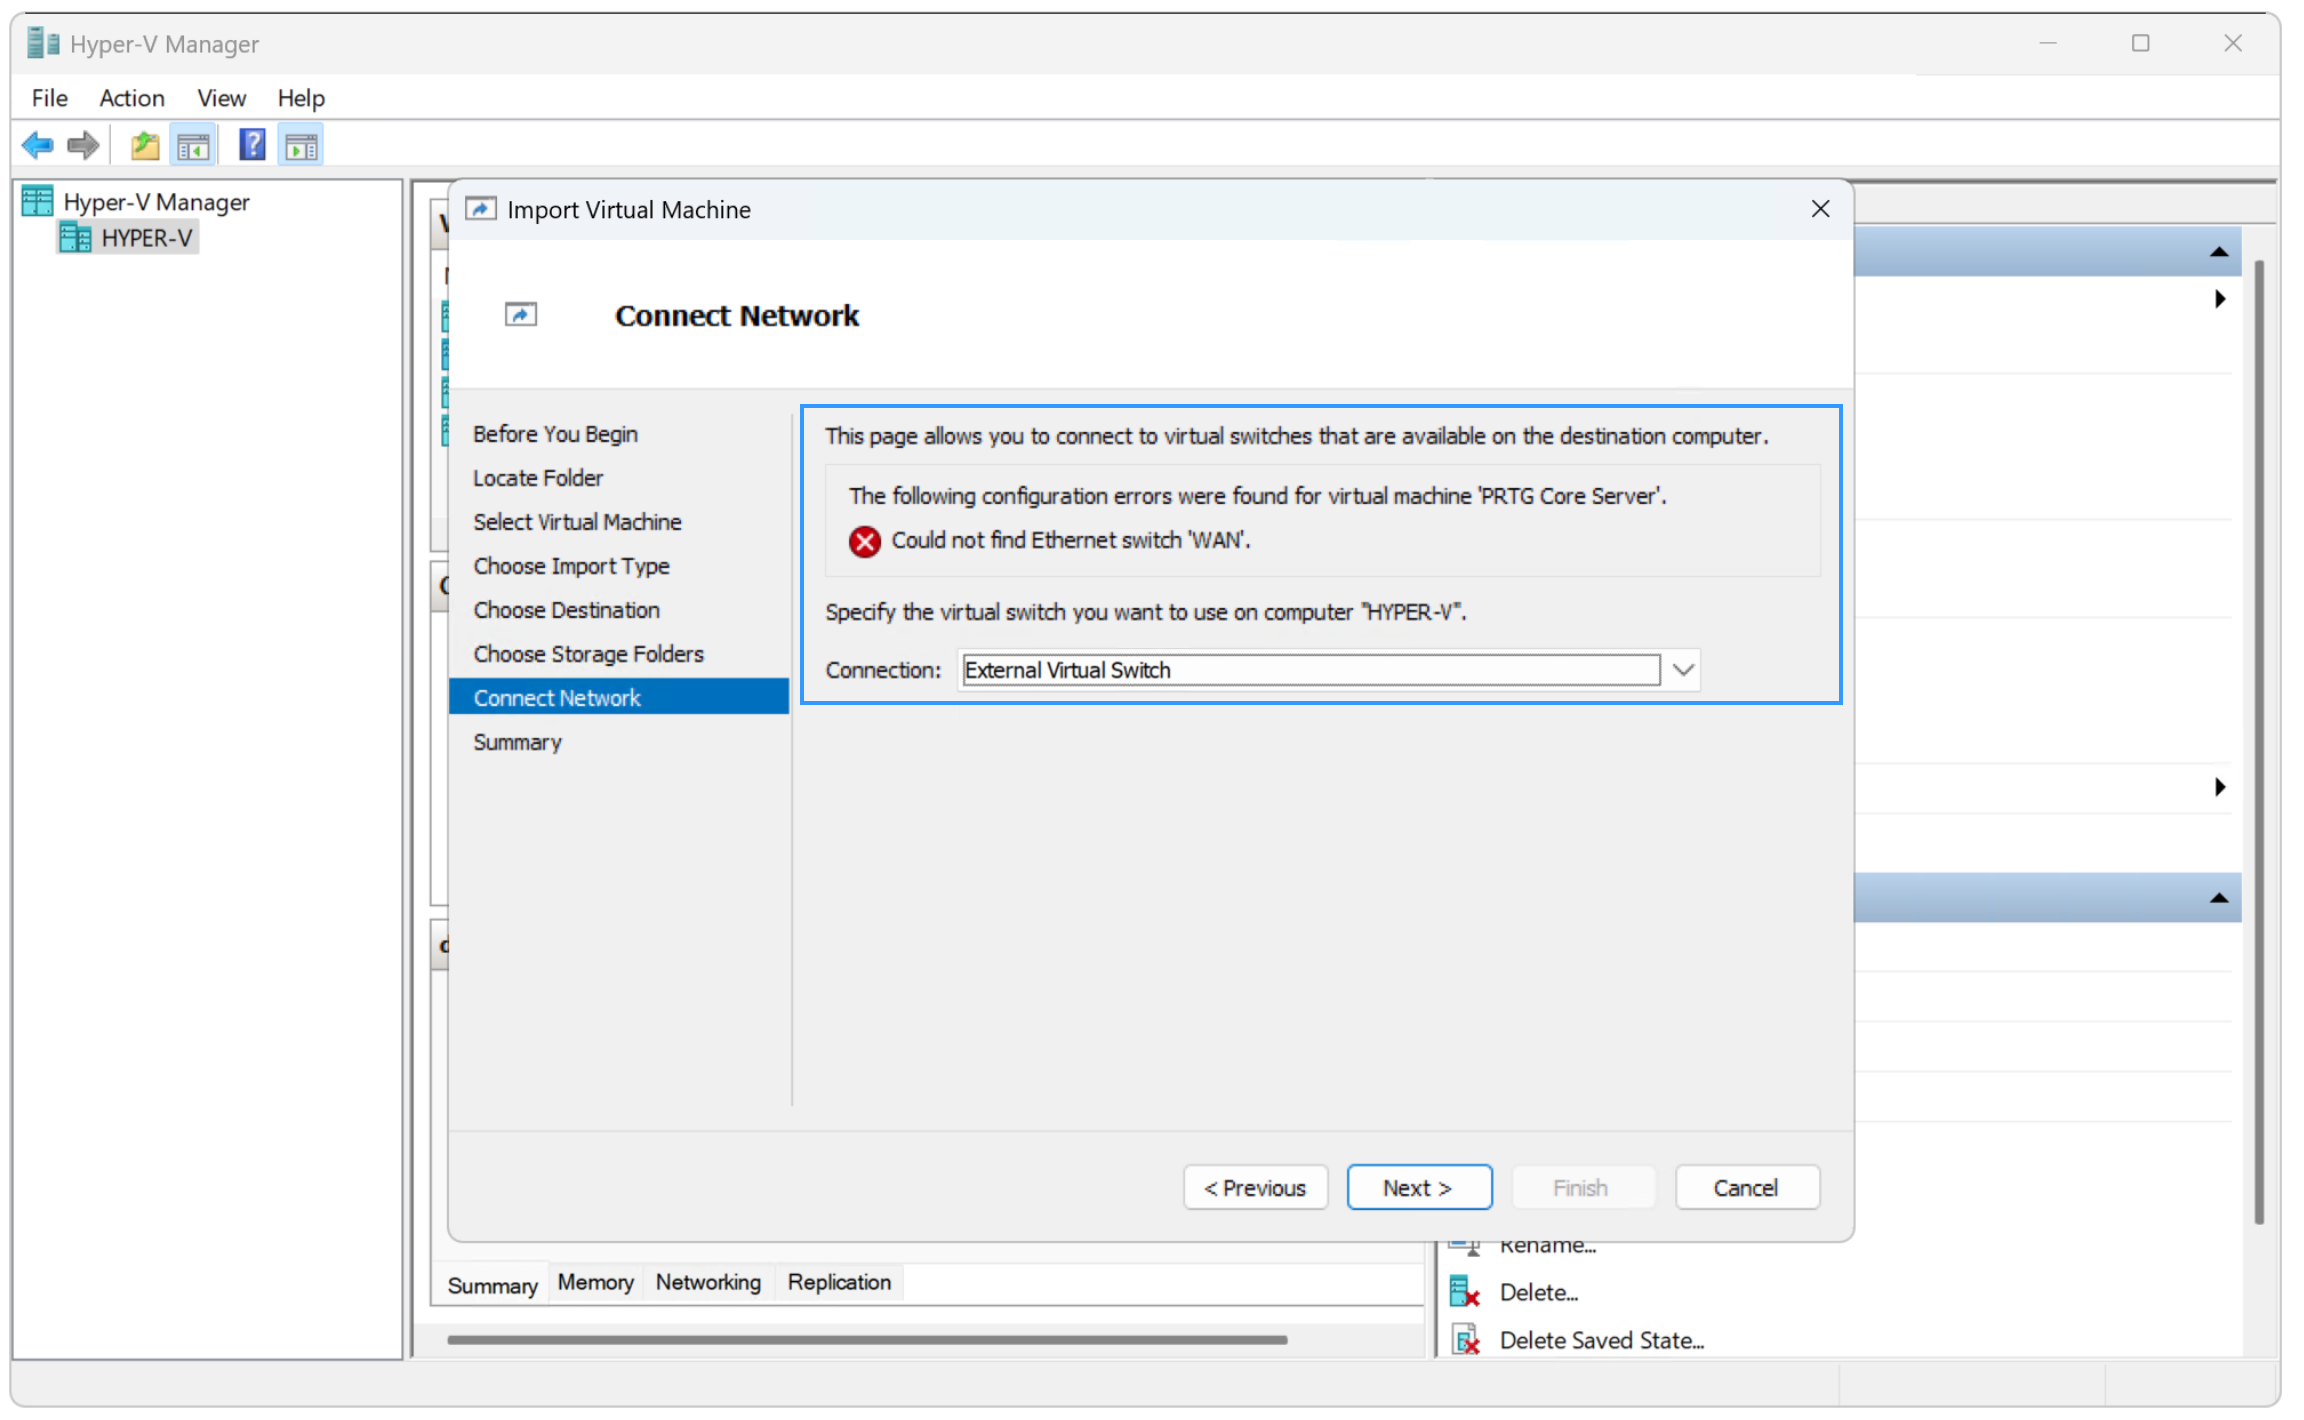
- Specify the virtual switch you want to use for the virtual machine, and then click Next. This is one of the prerequisites I mentioned earlier.
If the machine has access to other networks and VMs on Windows 11, it should have the same access on the Hyper-V host. Additionally, if the name of the virtual machine is different between Windows 11 and Hyper-V, you may see the warning “Could not find Ethernet switch ‘X’.” The name doesn’t matter; what matters is the virtual switch type.
- Click Finish to complete the import. Hyper-V will then start the process of importing the virtual machine.
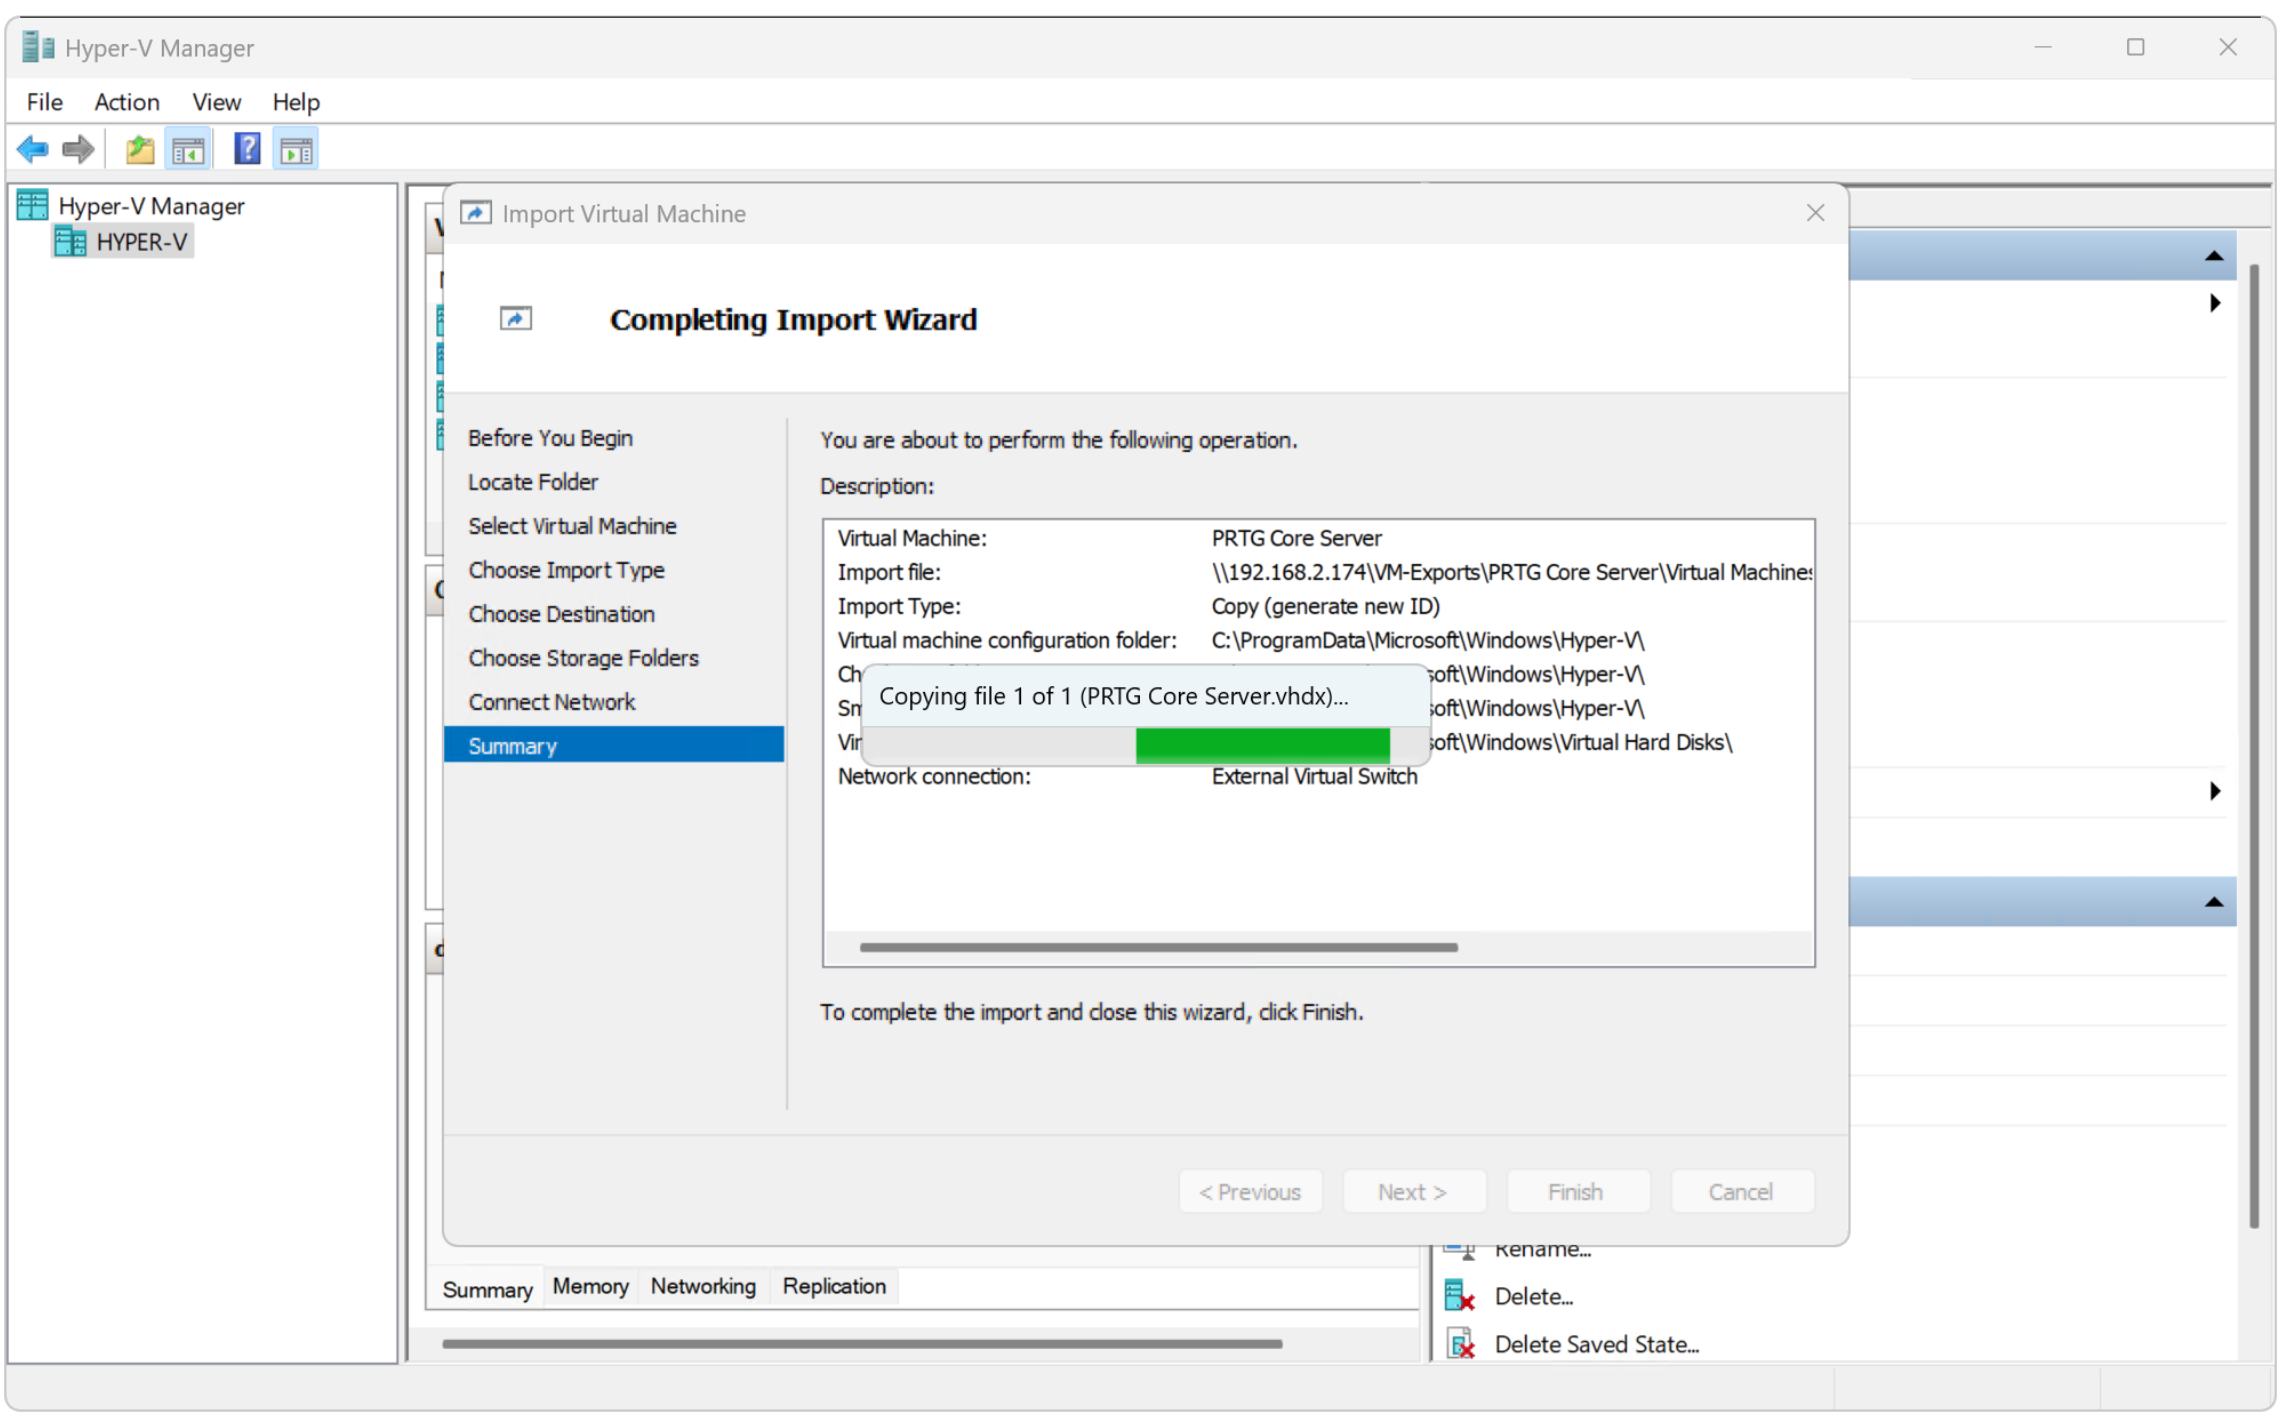
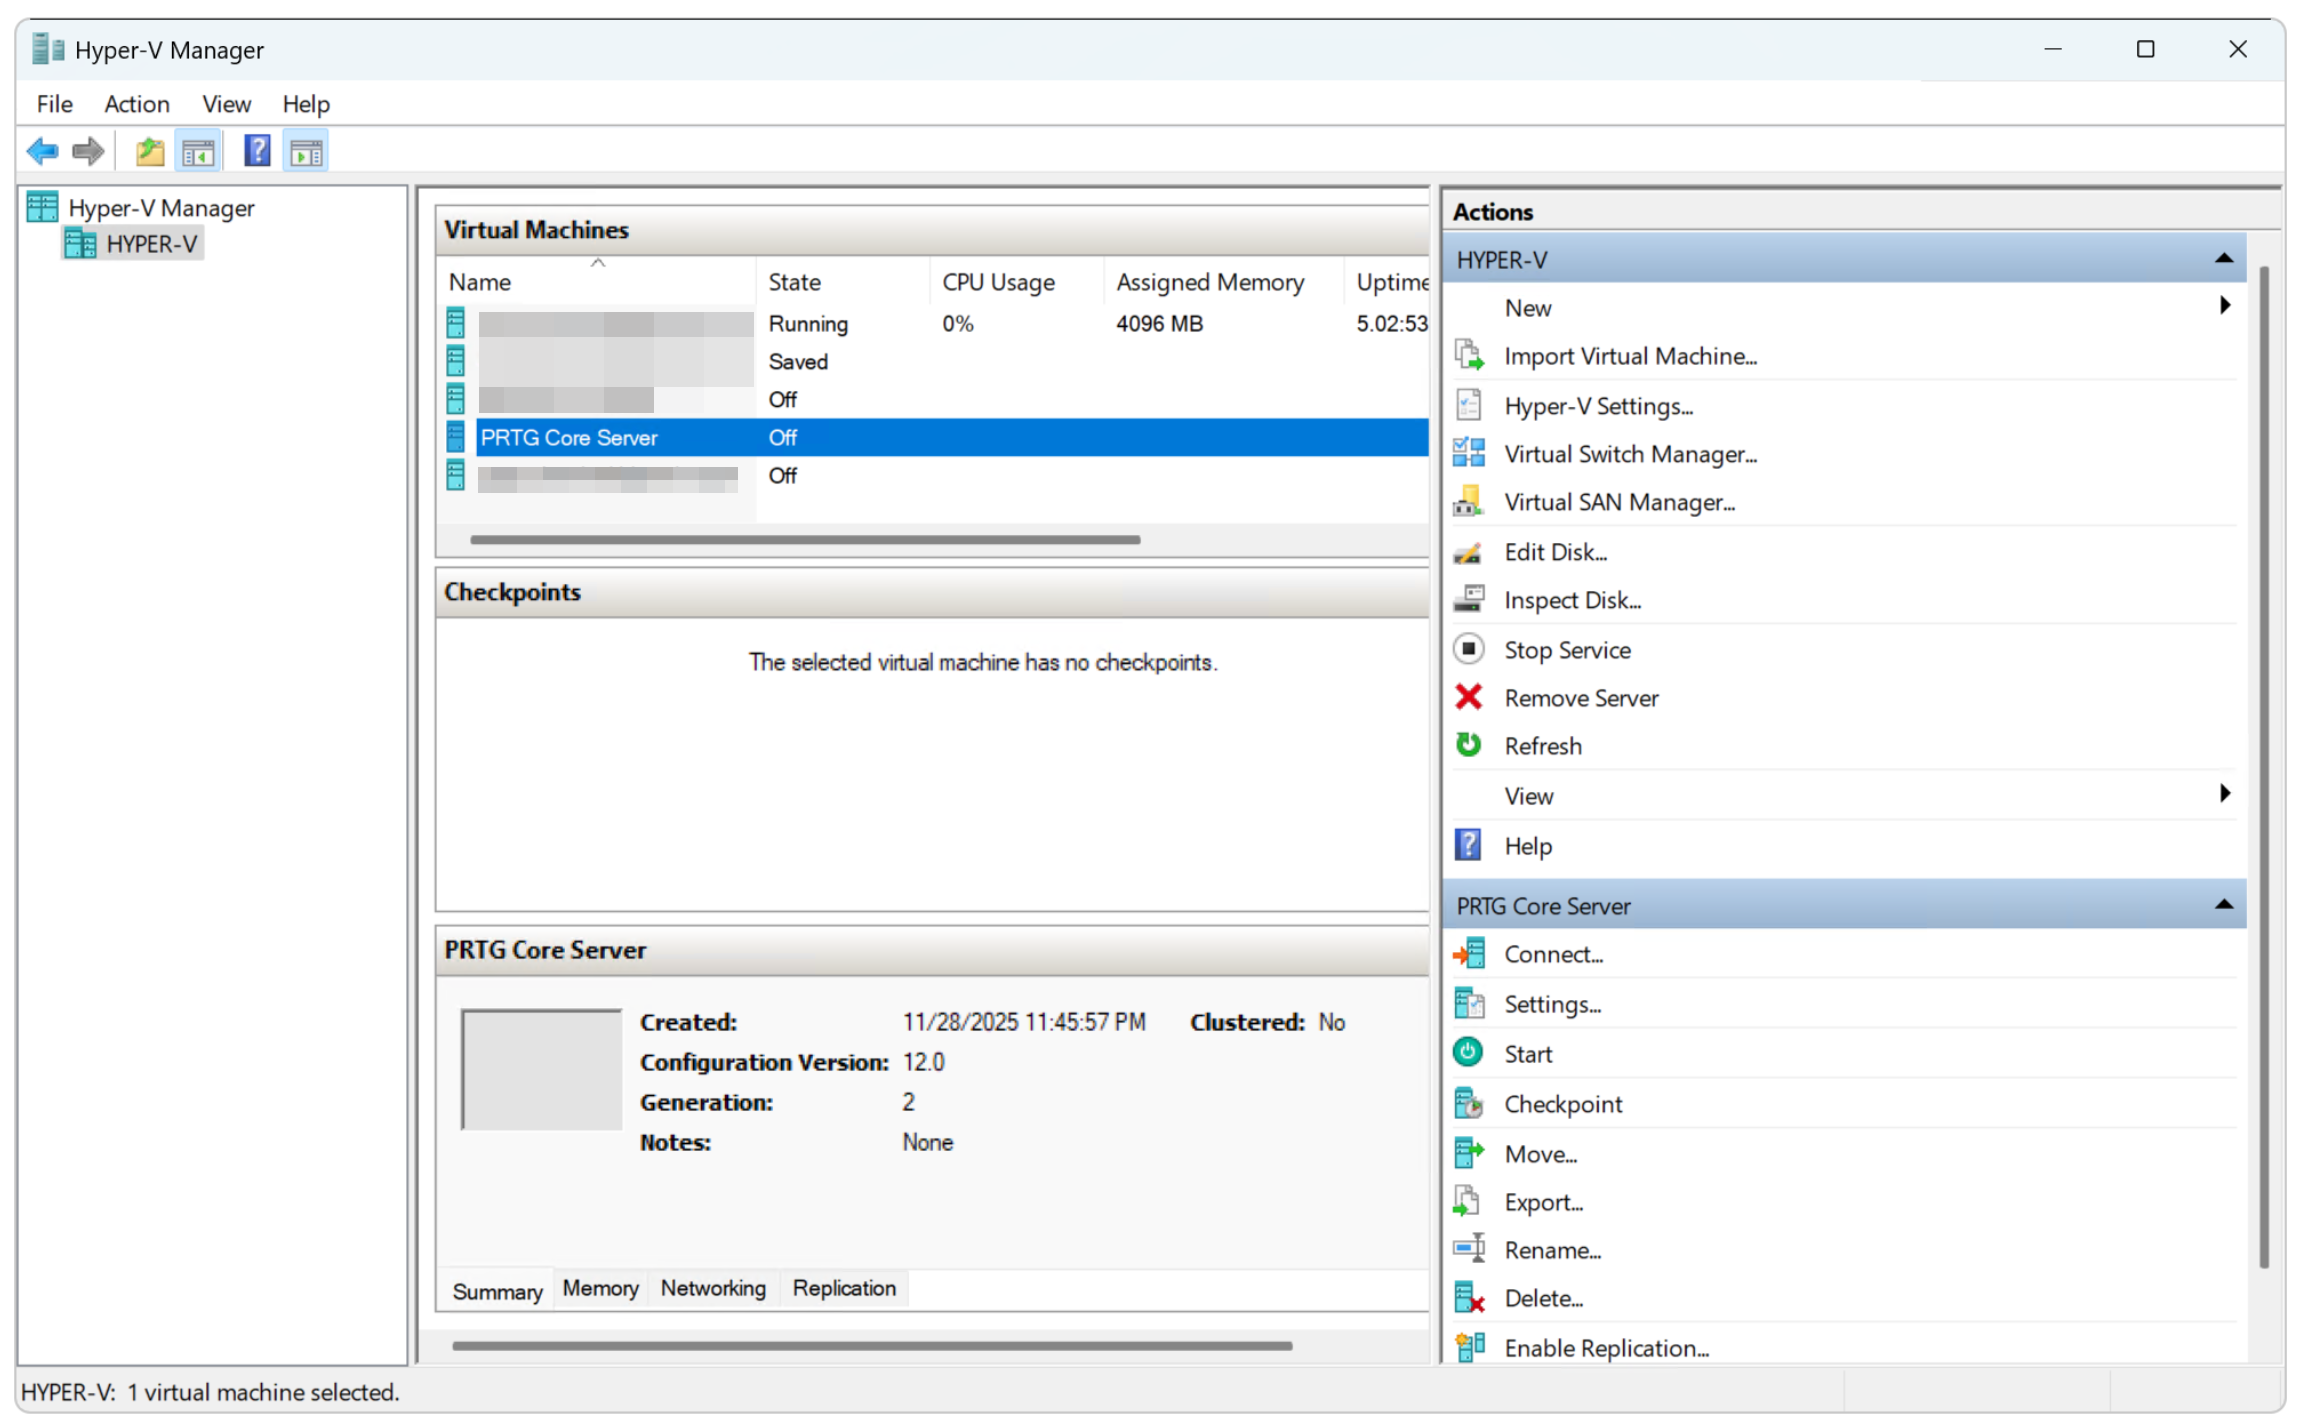
You have successfully imported your VM. As you can see, in my case the VM PRTG Core Server is now imported and available in Hyper-V.
Start the VM
The whole procedure took a couple of minutes for a VM that is 40 GB. The time depends on the VM size, disk, and network speed.
Now that the VM is successfully imported, you can start it by right-clicking the VM and selecting Start. Verify that everything is working fine, including the VM and virtual switch settings.
Have you migrated VMs between Hyper-V hosts?
Did you run into any issues not covered here?
Share your experience in the comments below; your insights could help fellow readers avoid common pitfalls!